Wild for Tigers
Believe it or not, I became involved with this project because my nine-year-old daughter, Savannah, plays tackle football. I was watching one of her games when I overheard a teammate’s father talking about a renovation at the Palm Beach Zoo.
Joining the conversation, I learned that he owned a general contracting company that builds large commercial projects and that he’d been hired to renovate the zoo’s parking lot and utility infrastructure and build an exhibit facility for two Bengal tigers. It was, he told me, the first phase of a long-term plan to upgrade the zoo at Dreher Park, a complex that also includes a planetarium and a museum.
The work at the zoo, he said, was one phase of an effort by the city to create a quality facility that ultimately could serve as a low-cost alternative to Orlando’s theme parks. As part of the project, my new friend’s firm also was acting as general contractor in the construction of a new tiger pen, the first of a series of new display areas planned for the modest zoo.
When he talked about the watershapes involved, I jumped: The design called for a large waterfall, a winding stream and a bathing pool for the cats. In a heartbeat, I offered my services, eventually won the bid and soon developed a relationship with this gentleman that went well beyond rooting for our kids on the gridiron. Along the way, we learned more about recreating a slice of the Indian jungle than I could ever have imagined.
IN AT THE START
I became involved while the project was still in the early stages, which meant I was given a set of basic plans that included a rough layout, basic dimensions and some structures – but not much additional detail. The contractor had already received bids from several firms, some from out of state, but when he took a look at our company’s background in commercial pool construction, he was anxious to see how our local quote stacked up.
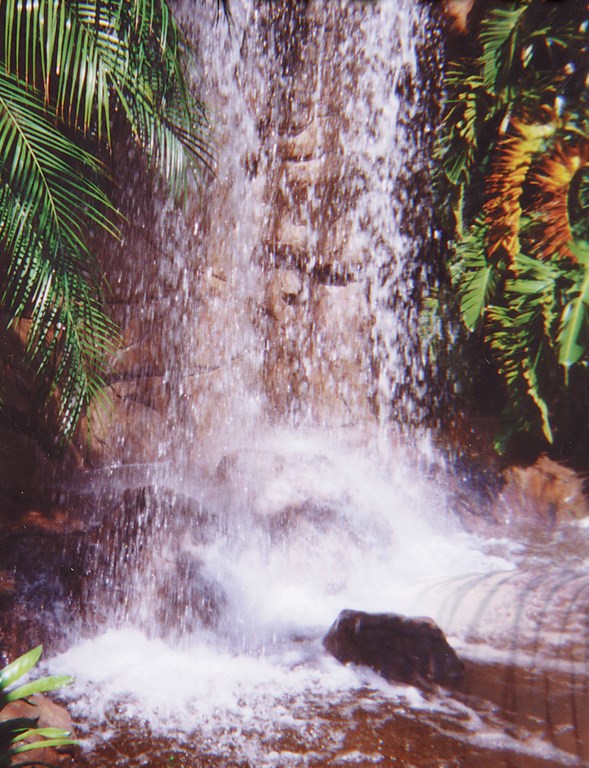
The plans called for a free-form, 15-by-30-foot concrete pool with faux mud-bank edges; a 25-foot meandering stream; and a spectacular faux-rock waterfall, 21 feet tall by 30 feet wide, cantilevered ten feet out from its supports over the tigers’ night house at the rear of the half-acre site. We looked over the plans and gave as tight an estimate as we could, noting carefully that several key aspects of the plans would have to be changed.
We submitted the bid in September 1999, won the job and went to work on site in October 1999. The timeline was tight, with completion targeted for February 2000, including landscaping and the animals in place. This meant that much of the changing and actual designing of the job would have to be done on the go.
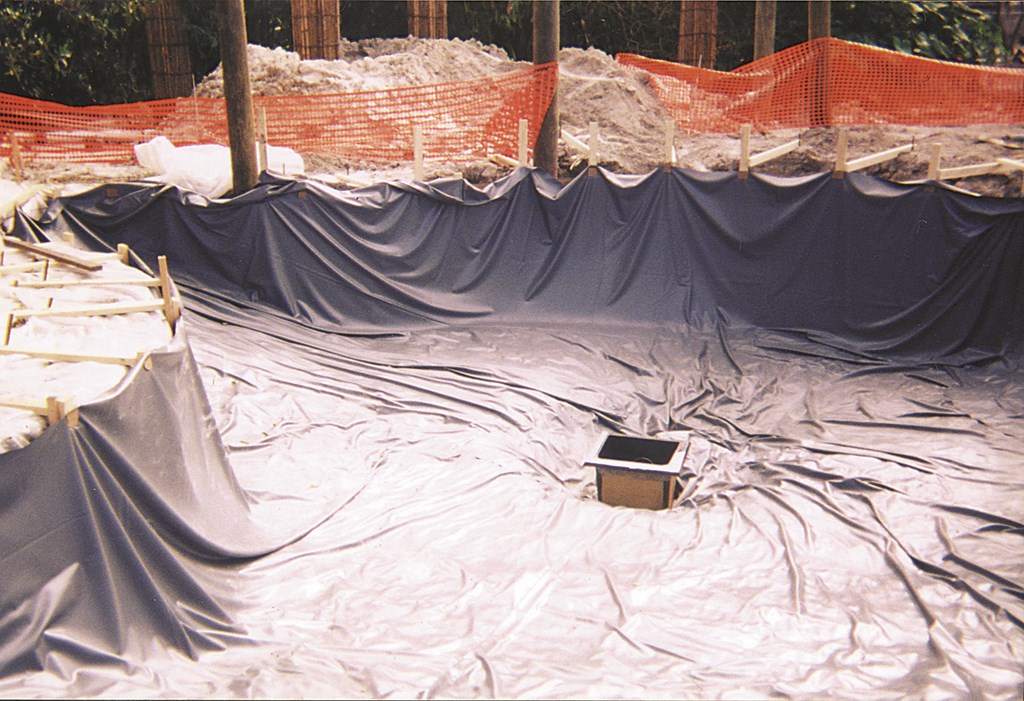
| Believe me, as a builder who usually works with steel and concrete alone, installing this project with a liner on the outside of the shell was a strange exercise. It had us worrying with every step whether we could do the job without poking any holes in the membrane – especially tough when we were setting the steel. |
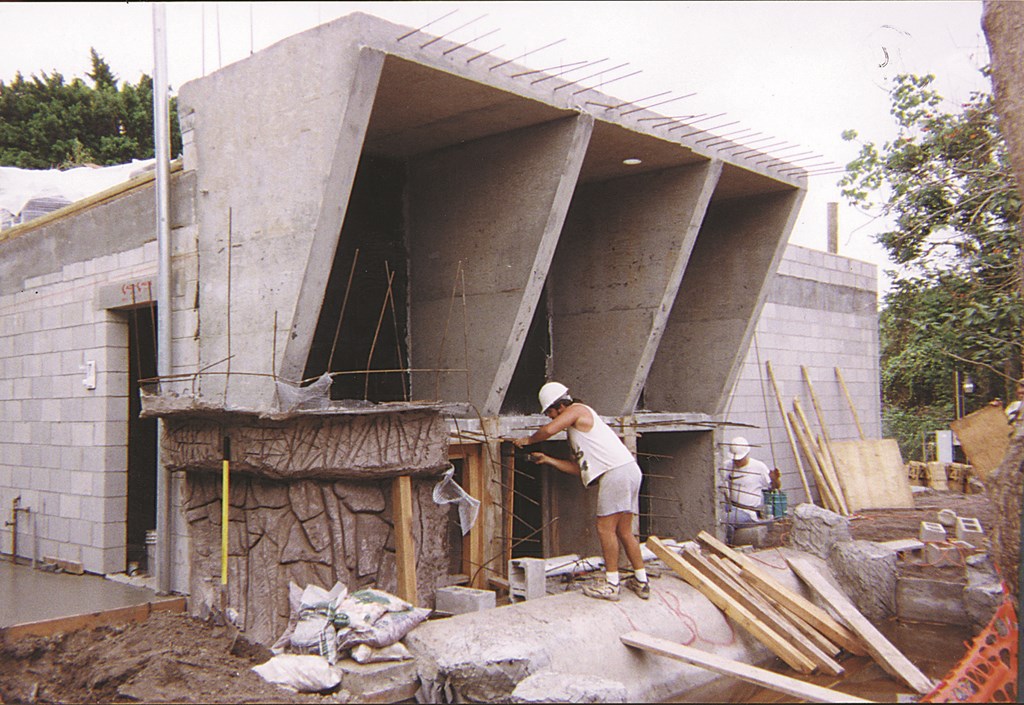
One of the biggest changes involved the structure of the waterfall, which was totally inadequate in the original plans. As mentioned above, the waterfall structure fronts a wall of the animals’ night house that serves as its primary support. The problem? The building is only 12 feet tall, which left a massive, cantilevered portion of the falls basically suspended in air.
To accommodate the structural requirements, I designed four vertical support pillars with a horizontal baffle halfway up the structure and a tie beam as part of the water basin across the top.
The other major change involved the aesthetics. The initial sketches were based on recreating Florida capstone and using local plant life – an easygoing, South Florida “interpretation” of India’s jungles that would be completely unlike any landscape in which you’d find Bengal tigers.
Given clearance to strive for a more appropriate look, a local faux-rock artist named Bill McCauley and I dug through back issues of National Geographic and any other printed material about tigers and their habitats we could get our hands on and eventually came up with a rockwork design that was much like the tigers’ home turf.
CONCRETE IN A BAG
I knew we were heading into uncharted territory with this project, and sure enough, we learned something unexpected at just about every step. As a builder specializing in shotcrete and plaster, for instance, I haven’t had much experience with liners. And at the start of this project, I especially had no idea how to work with a liner installed on the outside of the concrete shell – but I was soon to learn.
That requirement arose from zoo officials’ concerns over the water-tightness of the structure, and I’m still not quite sure if they were more worried about water seeping in from the high water table or about water weeping through the porous shotcrete. In either case, the liner didn’t seem to me like the right solution.
I offered a more familiar, alternative suggestion of using a dark pebble surface on the interior of the pool, but the designer and the zoo staff were adamant about the external liner – and made it perfectly clear that there couldn’t be so much as a single puncture. Acknowledging my own lack of experience in building watershapes for tigers, I gave up the fight. Now I had to figure out how not to rip the thing to shreds as we worked on top of it!
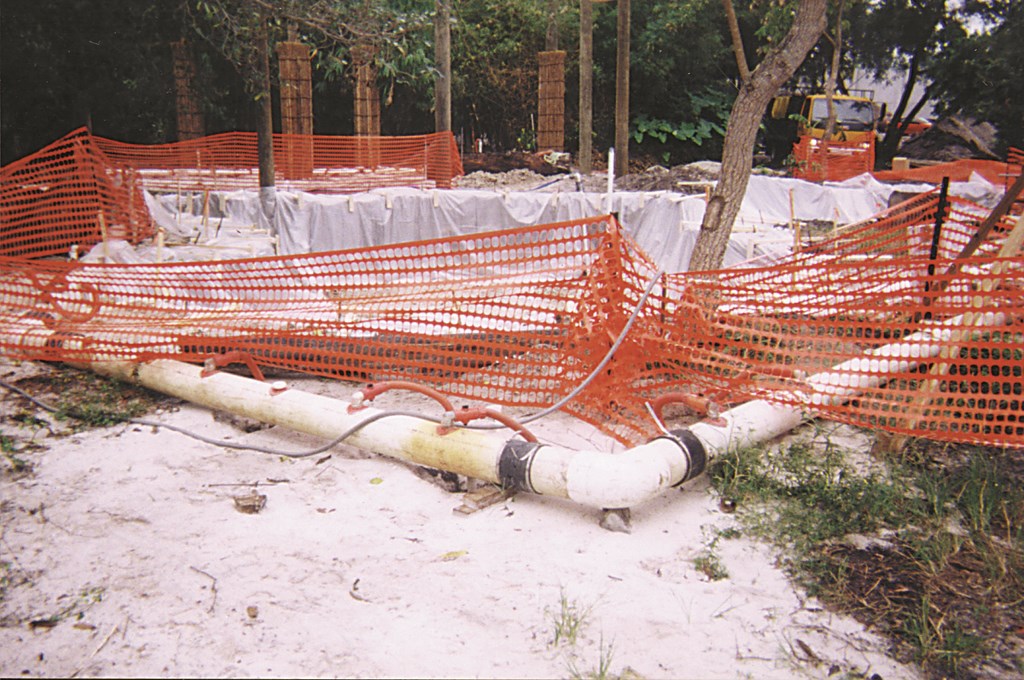
To get things going, we installed a dewatering system (described in detail in the first sidebar below) and excavated the site. Once we’d balanced the system to keep encroaching water at bay, this phase of the project was pretty straightforward.
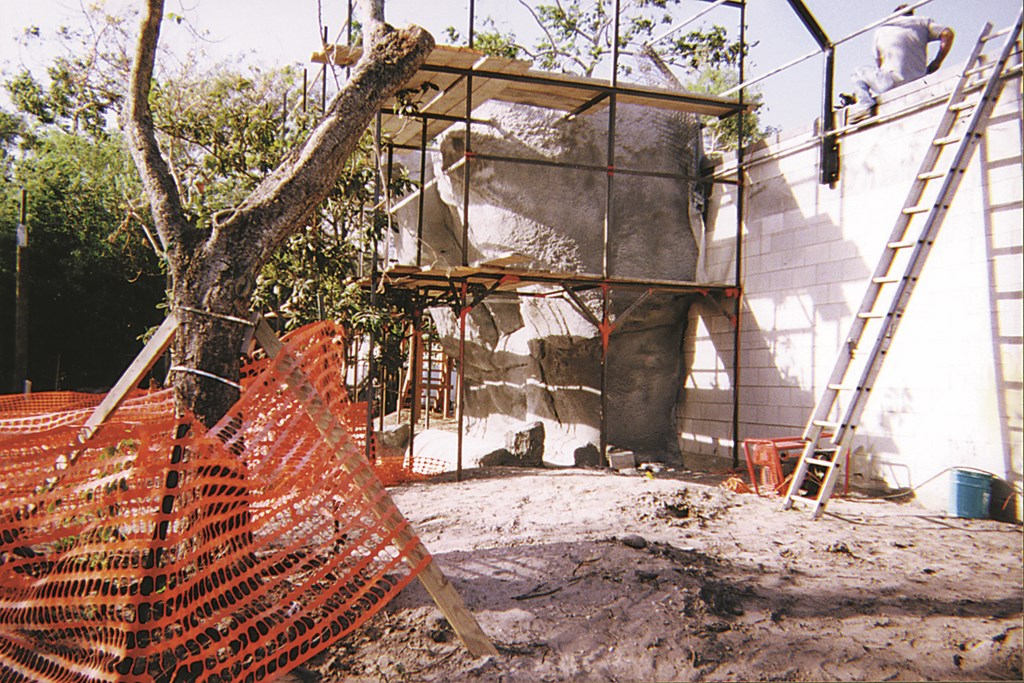
| The waterfall’s structure was doweled into the block building that held the tigers’ night cages (left). The building just wasn’t massive enough to support the tower as originally planned, so we pulled the cantilever back a bit. By the time we were finished texturing the rock face (middle) and setting up the cascades (right), the effect was nonetheless spectacular. |
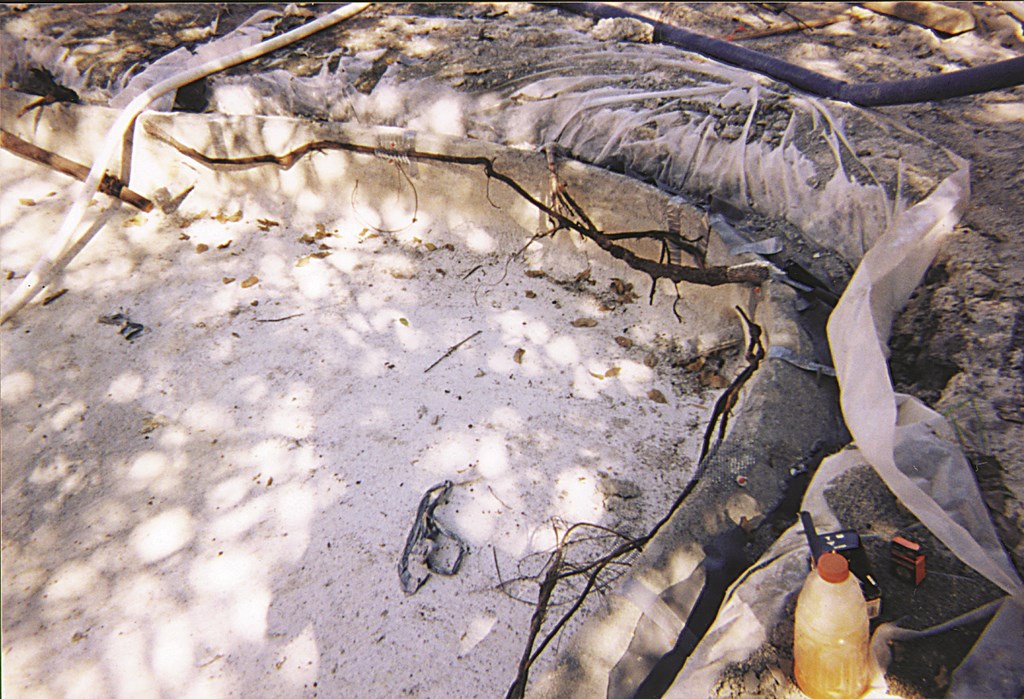
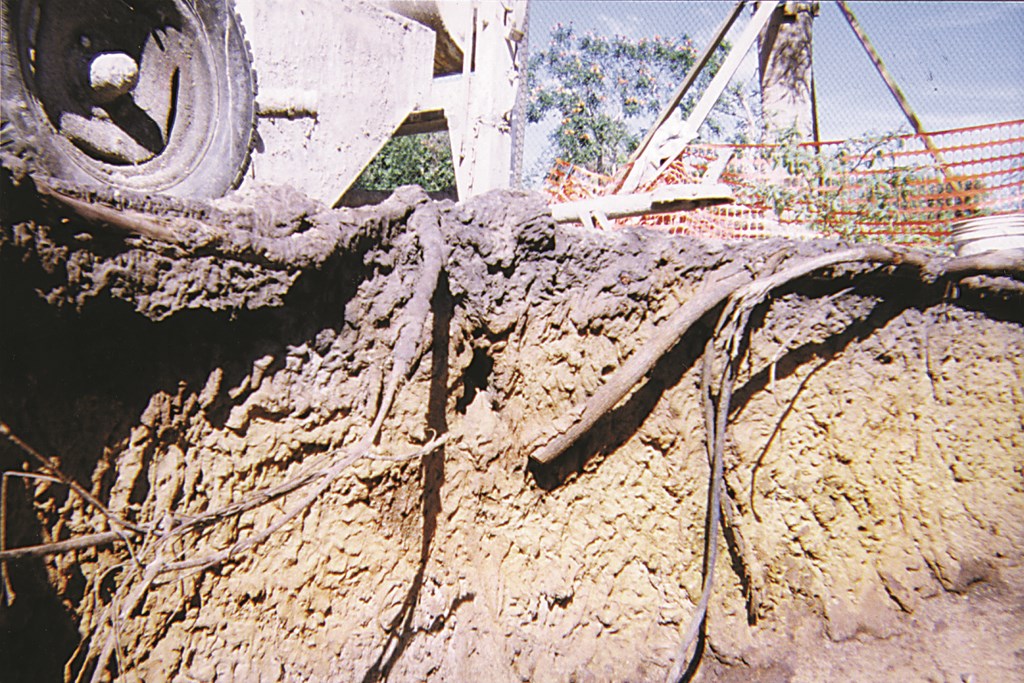
That done, we planned to install the plumbing, set the liner, hang the steel and apply the shotcrete. Sounds simple, but everything was complicated by the presence of the liner and the fact that the site was infested with roots. As a consequence, we had to put down a layer of plastic sheeting to protect the liner – and watched just about every step we took thereafter.
Of course, we were lucky enough to be starting in the middle of our rainy season. Given the loose, sandy soil and a legitimate concern over cave-ins, we extended the protective plastic sheeting out over the edge of the dig and the berms we’d set up on the perimeter to keep rainwater from draining into the hole.
As it turned out, we had two significant storms during the month the site was open but only experienced a small collapse of one wall. It wasn’t difficult to repair; overall, we felt like we’d dodged a bullet on that score.
HANDLE WITH CARE
With the dewatering system doing its work and the liner now in place, we began the work of building the shell, starting with the plumbing. Because the water in a zoological exhibit like this cannot be chemically treated, installations such as these almost always have flow-through circulation systems. In this case, the influent came from a freshwater canal located about 30 feet away and discharged to another canal about 150 feet on the opposite side of the exhibit.
This basic system used a 2-horsepower pump with a flow rate of approximately 150 gallons per minute – no filtration system, no recirculation. Water flows out of the pool through a simple cast-in-place skimmer in the shallow end, where gravity carries it out to the other canal. The influent line is 4-inch PVC and the effluent gravity drain line is 6-inch PVC, providing a nice lazy flow through the system.
Within the pool’s hopper, we placed a single 24-by-24-inch fiberglass sump assembly and set up a 7-1/2-hp pump to feed the waterfall. The sump is equipped with a special foot valve arrangement to prevent backflow. It’s also covered with the largest grate size possible to protect the tigers from any risk of suction entrapment.
Using this simple plumbing scheme meant that we would only have to penetrate the liner in a very few places – eight in all. Once the plumbing fixtures were installed, the 8-mil PVC liner was brought in, stretched across the pool and pulled up over the edges. We carefully cut holes in the liner for the plumbing and sealed each aperture with special sleeves and adhesives.
With the pipes and the plastic bag in place, we tied the steel cage for the shell. There was nothing special here, except for the fact that every single step we took was attended by the fear that we would poke through the liner with a steel bar or tie wire or an errant step. This didn’t make for the easiest working conditions, but we managed without incident.
Once the rebar was set in place, we blocked with the greatest of care. We also went so far as to point all of the ties inward, away from the liner. With equal care, we completed our framing and prepared to shoot the pool, the streambed and the “mud banks” at the edges. (For details on the banks, see the sidebar below.)
MOVING UPSTREAM
We shot the pool and the streambed right up to the footer of the waterfall, bringing this phase of the project to completion. Now we pulled out the dewatering system (which was a huge relief), stripped the forms and backfilled areas around the perimeter of the pool and stream – using clean sand to protect the all-important liner.
Then it was time to turn our attention to the waterfall – a particularly delicate part of the project because of the structure’s vertical scale. We set our scaffolds across the front of the support pillars and baffles and began building a steel cage that would do double duty — providing structural support as well as expressing the shape of the rockwork.
We used #3 and #4 rebar on 8-inch centers, carefully contouring the steel as we went. The waterfall’s weir is 29-1/2-feet long; the falls are fed by 4-inch pipe set in a small trough at the top of the structure and perforated with 1/2-inch holes. Ultimately, the top of the waterfall structure projects out about four feet beyond its bottom. (It wasn’t the dramatic, ten-foot overhang originally specified, but it was all the structure would support.)
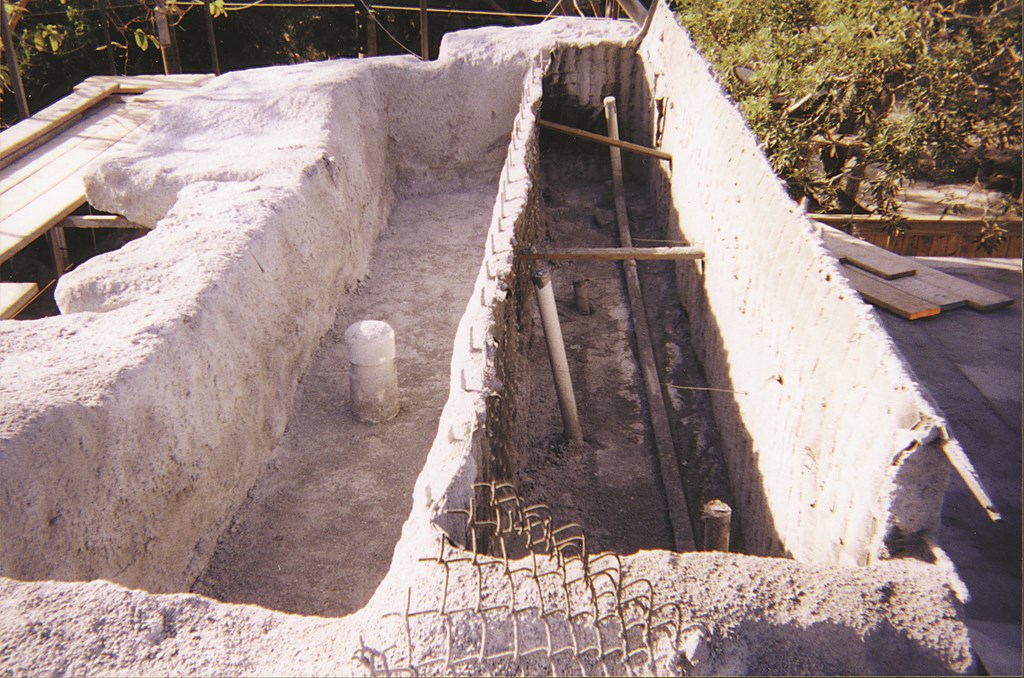
With the steel in place, we came to our next major challenge: Because of the size of the structure, we couldn’t shoot the waterfall solid against the night-house wall; it would have been too heavy for the support system. So we had to come up with a way of forming behind the steel, leaving hollows between the back of the waterfall’s rockwork and the wall of the building.
Our solution? We used a product called Poly Burro, a sort of ultra-strong cheesecloth, as a backing form. We maneuvered the material behind the steel cage and attached it to the rebar using metal “hog rings” at each point of connection and proceeded into an unusually delicate shoot. Moving very slowly and shooting in thin layers, we took a full day to shoot an area that would only have taken a few hours in a normal project. As the applicator moved, McCauley and his crew followed with trowels, carefully carving and sculpting the rockwork.
With the shotcrete in place, we covered the structure with a gray plaster material applied in small sections to allow McCauley and his crew to carve and sculpt minuscule fissures, clefts and outcroppings as we went. On the top of the falls, the weir was sculpted to provide a broken, uneven flow.
Later, when we fired up the whole system, the effect was perfection itself. In fact, McCauley said that in all his time working on large waterfeatures such as this, he had never before seen a waterfall that didn’t need some degree of tweaking.
STALKING THE FINISH
At this point, the structures we’d created didn’t look much like a jungle waterfall or watering hole. As we added various finishing touches during the final phase, however, the entire environment really came to life in rapid order.
[ ] Up on the waterfall, McCauley personally saw to the application of the color finish. Using an airless spray system, he applied thin layers of acid-based stains onto the plaster – a fascinating process that held my attention throughout as he artistically highlighted the outcroppings and deepened the fissures and indentations. He began with the dark colors, blacks, browns and grays, and moved gradually to light-gray and tan highlights.I know there are lots of ways to make artificial rocks these days, but when McCauley was finished doing it his way, I was completely sold on the effect. Even up close, these rocks look real!
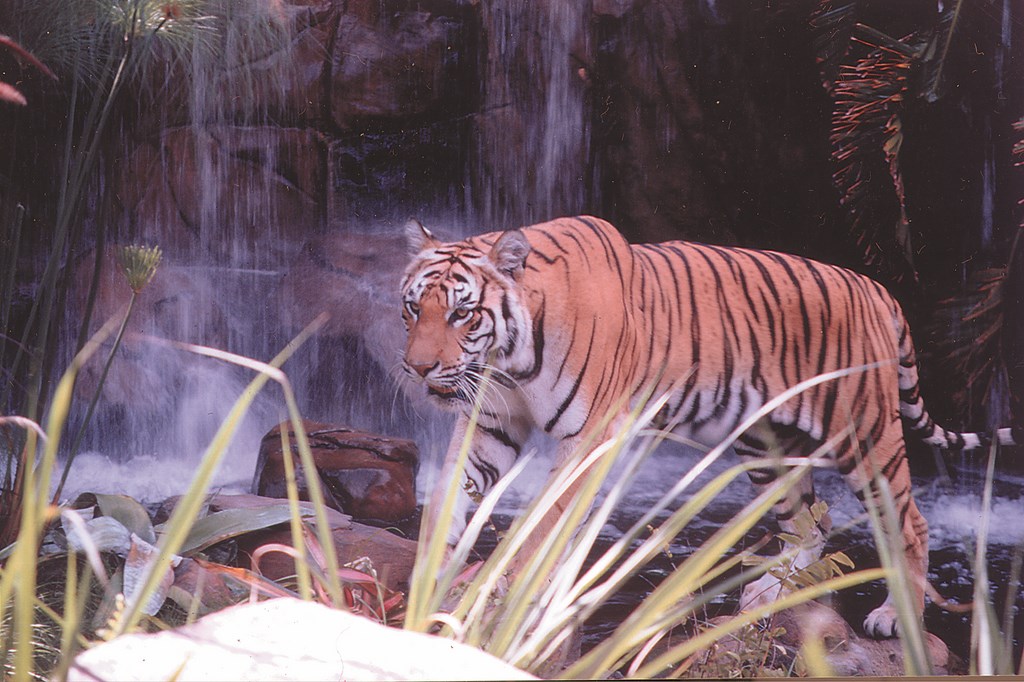
[ ] At the foot of the falls, we created several small stones placed to look as though they had tumbled down and been scattered over time. These ranged in size from about six inches to about four feet in diameter. Starting out as #3 steel bars and chicken wire, they were covered in shotcrete and then artistically finished in minute detail with plaster and the acid stains.| Of all the points of pride we’ve found in this project, the way we were able to help turn it from a South Florida landscape to something much more closely resembling the Indian jungle is among the most significant to us. From the pond (left) to the Waterfall (middle), we established an environment that has helped make the tigers and their enclosure the zoo’s all-star attraction (right). |
We also took some plaster moldings of children’s footprints and created stamps that we mounted on the end of some doweling. While the plaster was still wet, we “walked” the stamps along the pathway to show that this imaginary jungle also had been inhabited by a herd of small bipedal hominids.
[ ] Finally, the landscaping was installed. This particular jungle included an array of large palms, hyacinths, bougainvillea and birds of paradise. We didn’t need to worry about landscape lighting: The zoo is closed at night and the animals are kept inside.When it was all in place, the facility looked amazing – just like a place you’d expect to run into a tiger!
THE STRIPES HAVE IT
The tigers were introduced to their new home during the last week of February. During the opening weekend, the zoo drew more than 2,000 people each day – well above its former average attendance of 500. I’ve been told that the numbers are holding months later – and that the tiger exhibit is a particular draw.
As I look back on this job, I find myself filled with a tremendous sense of satisfaction, having done something truly unique that will be a part of the Palm Beach community for decades to come. And, of course, it was a kick watching my own kids enjoy the exhibit. According to Savannah, it wasn’t quite as much fun as playing football, but I could tell she was pretty proud of her old man.
Steve Lucas, president of Innovative Pool Plastering in Coral Springs, Fla., has been in the pool-construction business for more than 20 years. He is no stranger to large-scale projects: While president and owner of Aquatic Concepts, a commercial and residential construction firm, he supervised all elements of construction for the $1.5 million pool for the Marriott Hotel & Casino in San Juan, Puerto Rico. He also has worked extensively as a construction and hydraulic-design consultant and as a pool-chemistry instructor and field consultant. He also served on the supplier side of the market, working as national sales and technical-services manager for C.L. Industries, a supplier of interior surface materials, before founding Innovative Pool Plastering. Lucas has been active in both the National Spa & Pool Institute and the Construction Specifications Institute.


