The Perfect Fit
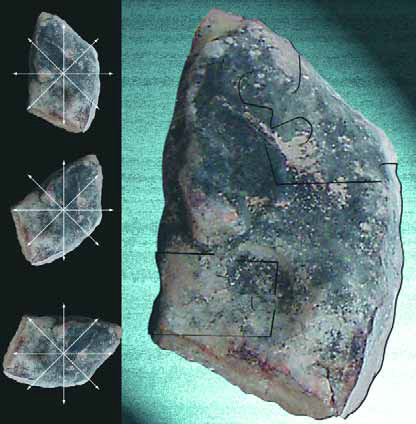
To me, setting natural stone has always seemed something like assembling a very large jigsaw puzzle: All the pieces have to fit together, and there’s definitely a right way and a wrong way to make it happen.
I start the process systematically by laying stones out in an adequately large area and then just looking at them. As I go, I visualize how each will work as part of the overall composition and identify stones with either convex or concave contours that might fit together in some visual way. I’m constantly asking myself, “If I put this stone here and this other one right next to it, how will it work? Should I pick another stone and use a different combination?”
Nature helps me in coming up with the answers, because the boulders pulled from the ground have broken off larger formations. I don’t try to match things up and reassemble them the way they were before they were “harvested,” but stones of certain types tend to break up in similar ways, making it much easier to find workable pairs in creating naturalistic arrangements. Working with these contours and fractures makes it possible to assemble them in ways that avoid having one big stone next to another with a foot and a half of grout between them.
It’s a big job, but not a huge challenge: It’s really just a matter of seeing how it all fits together.
CAFEFUL MOVES
We faced this sort of puzzle-piecing task in the project in Hanover, Pa., we started covering again in the January 2005 issue (page 28) after a long hiatus. The distinction, of course, is that the immense scale of this project had boulders arrayed across a huge field rather than in a compact area.
This is the first project in which Kevin Fleming and I have selected and set stones together on such a large scale, and we were keenly aware of the fact that this was a setting in which the rockwork was to play a central visual role. In this case, in fact, the stonework was to be one of the absolute defining features of the overall project.
Kevin graduated from college with a degree in landscape architecture and understands the issues of balance, proportion and scale involved in selecting and placing big stones. Even though this was his first huge project, he came up to speed quickly – and that was critical, because he’s our on-site supervisor and sees things develop on a day-to-day basis in ways my own travel schedule doesn’t permit.
As I’ve pointed out in previous columns on this and other projects, reliable supervision is absolutely essential in projects on this level. Kevin’s daily passion and dedication to the work have kept things rolling and are what makes our unique partnership work so well.
One of our first rock-related decisions on this project had to do with deciding how big a crane we’d need. Cranes come in many sizes, obviously, and the choice is made based on access, boulder size and the span of the working placement area.
In this case, we needed to set the crane in a space just beyond the top of the large waterfall structure. From there, we’d set boulders as big as eight or nine feet across at distances up to 30 feet away from the cab, which led us to settle on a 120-ton monster crane with huge outriggers and an enormous boom.
Once the crane was on site, we were ready to go.
ON THE GROUND
Knowing which stones we wanted to place in which positions, we had to prepare each spot to support its boulder so the stone would be seen in the way and at the angle we wanted it to be seen. This means having shims at the ready to fix the stones in place, which in this case entailed making solid concrete modules measuring anywhere from six to 12 inches square (mostly sixes and eights).
We poured our own blocks and let them cure for as long as two weeks to get them way up there with respect to psi level. With stones this heavy, the last thing you want is to set the stone in place only to have the shims collapse from the weight, which in this case could be in excess of six tons.
With the shims at hand, we’d crane in the boulder and ease it into place, making small adjustments to get the angles and exposures just right – and also considering the grossly practical matter of how to get the straps off once the rock was maneuvered into position.
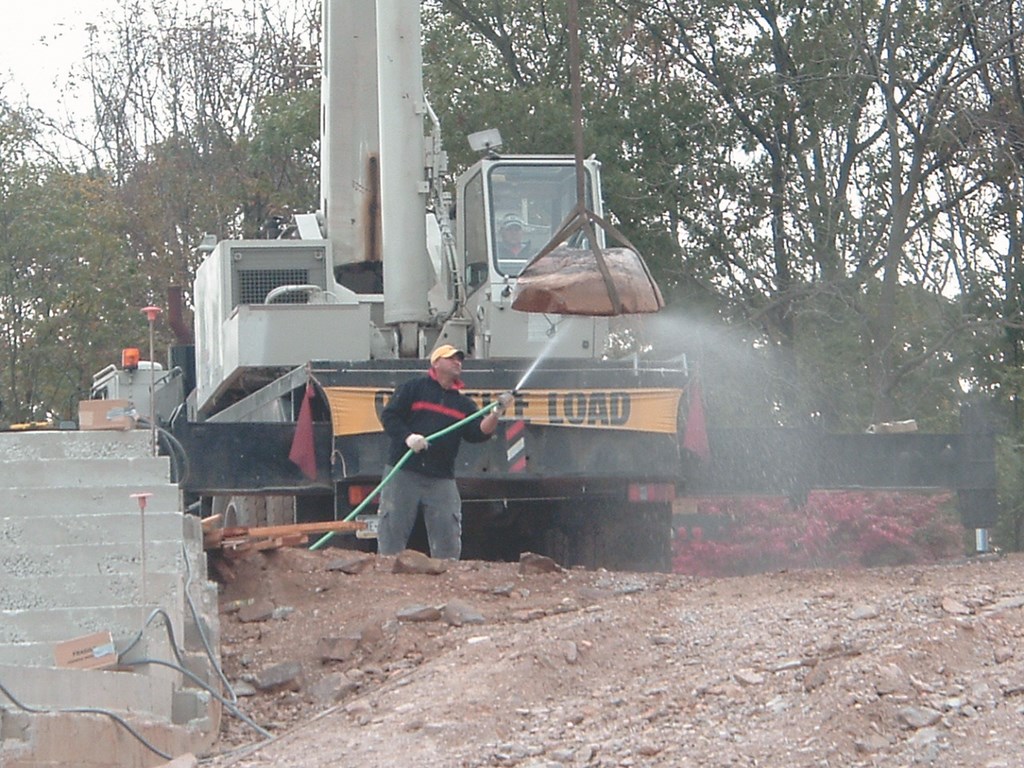
| Once each boulder has been selected and picked up by the crane, it is vigorously washed to clear away any debris that might interfere with subsequent bonding to the mortar bed. In lifting, we use nylon straps to avoid scarring the rocks’ surfaces. |
I don’t mean to give the impression that this is an automatic process once stones are selected. In fact, stone-setting is a remarkably intuitive process based on an appreciation of visual weight, scale, proportion, dimensionality and the dynamics of line – all of which come into play as each and every stone moves into place among all the others.
In thinking all of this through, we decide which side is going to be the top and which is to be mortared into place, how each is going to lay, how each will relate to those around it, and how each additional stone is going to be slung and knotted so that it will be lowered into just the right place with the correct physical orientation. At this point, the formerly static jigsaw puzzle becomes an outsized juggling act.
With stones this large, the process of simply getting them off the ground is an issue. Sometimes you have to sling one side of the stone, lift it partially off the ground, then slide another strap in underneath. It’s not unusual to take 20 or 30 minutes just to make ready for lifting.
We always use nylon-strap rigging to sling the stones: I’ve never liked cables, because the weight of the stone pressing against cabling we’ll leave marks that are both obvious and unattractive.
Occasionally, you’ll run into what happens when a rock drops. Fortunately, that happened just once on this project: We’d set the rock on a ledge in a precarious way and it fell, shattering a bunch of plumbing lines and forcing us to stop, make repairs, conduct new pressure tests and clean up the mess. Suffice it to say we were not happy campers when it happened.
INTO PLACE
Once a stone has been lifted, we use a power washer to clean the entire stone – particularly the “bottom” surface that will be placed in contact with the mortar that will hold it in place.
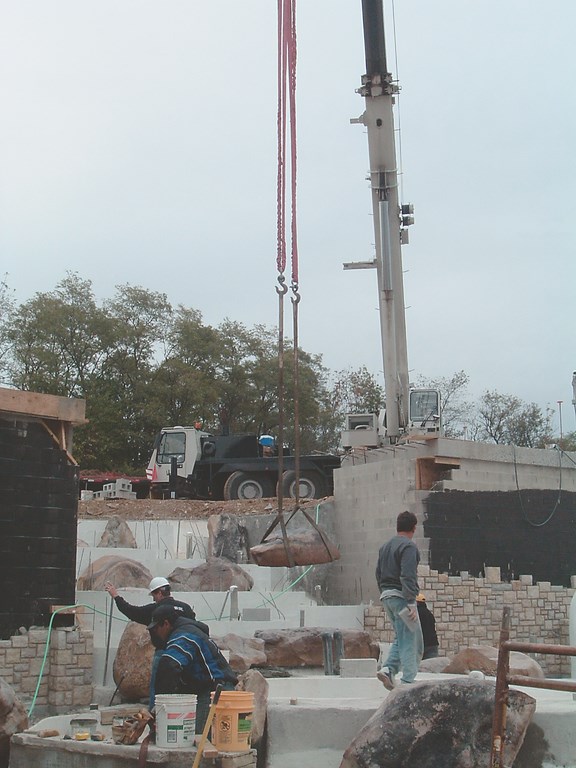
After we get the boulder cleaned up and are satisfied that it’s absorbing some moisture, the stone is swung slowly to the area in which it will be placed. Once in the vicinity, it is carefully lowered, twisted, nudged and basically finessed into final position. We might put it down then lift the whole thing back up to place additional shims. We might raise just one side and insert yet another shim to adjust its position just a bit.
| Clear communication between the crane operator and the placement crew is essential to the success of this three-dimensional, multi-ton juggling act. In all, it took us four weeks to finesse all the boulders into place for the waterfall and surrounding structures. |
All of this finessing has to be coupled with consideration of the position of the straps on the stones, always making sure they can be removed once the stone is finally in the desired position. Every stone’s selection and placement is a little bit different, which forces us to think several steps ahead in each case, starting with selection of the stone itself.
Most of the big boulders in this project will be set in and around the big waterfall structure that rises above the swimming pool. With this placement, they need to show well from two key viewpoints.
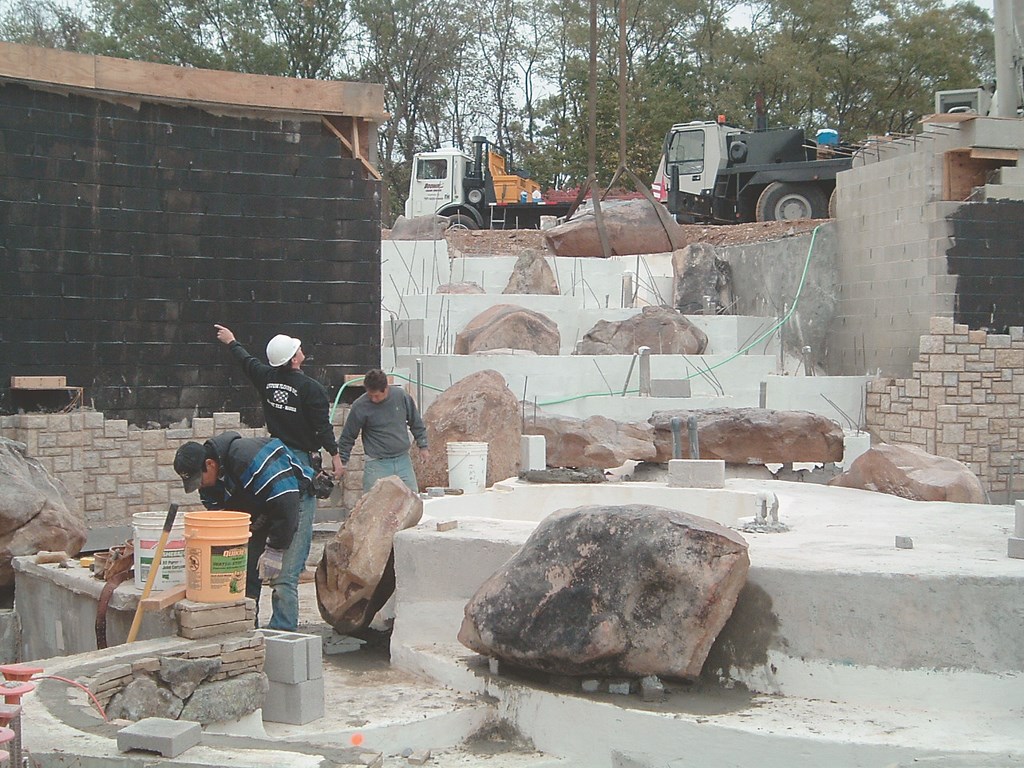 First, there’s the view from below on the pool deck, then there’s the view from the large, cantilevered footbridge that will span the bottom of the waterfall over the edge of the pool. From below, we had to be conscious of the way that stones looked and how the water would be moving over and around them in the cascade. The view is entirely different from above: In addition to the rushing water, those on the footbridge will see planters and a set of ponds flowing into the falls.
Working around the planters and within the ponds was a critical element for both major focal points. In creating the concrete substructure, we set up the basic scheme of the feature, but it wasn’t until the stones were actually placed that the true aesthetics of the design emerged.
The interiors of these stilling ponds are lined with Pebble Tec (supplied by Pebble Technology of Scottsdale, Ariz.) and accented by larger stones. In placing the larger stones, we were making final decisions about how the water would flow up to and break over the various weirs. From beginning to end, it was a matter of planning, on-site visualizing and extended crane sessions in which we fine-tuned and adjusted stone placements.
BOTTOM UP
As the work proceeded, we set stones in the waterfall as well as on several key points on ledges, on the pool’s bond beam, alongside the beach entry, at the base of the grotto area and on the spa island. From start to finish, it took about four long weeks – and Kevin’s constant supervision was the key to success.
The masons were on hand through the entire process and had learned what we were after by way of aesthetics from jobs they’d done with us in the past. They knew how we wanted the rocks to look with respect to the mortar and the finish material we applied between the stones and shot gunite behind the stones to fill in the voids or, in other places, put cut ledger stone in gaps between larger pieces.
A big point here is that we chose not to rely on steel dowels to hold the stones in place. These pieces were so big that gravity and the way they fit together was the primary means of locking them in place. Yes, the mortar and gunite will offer some support, but if you’ve got physics working against you, no steel or masonry will keep multi-ton boulders from shifting or even falling completely out of place.
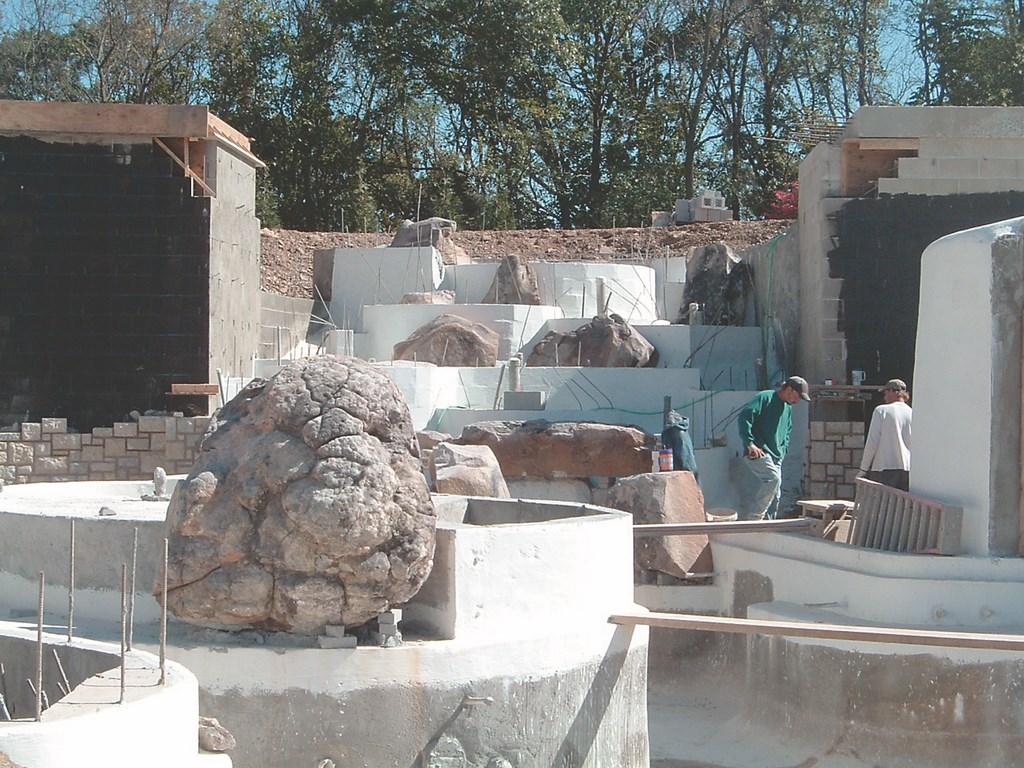
| We shim the boulders to balance them and gain just the right visual exposures. As the work progresses and more and more pieces of the puzzle are placed, we can all see how the overall composition is taking shape and visualizing how the water will flow. |
It was very important from the time we selected the stone at the quarry to final positioning on site that we had a background in this kind of work and could couple it with our knowledge of principles of naturalistic design – the abovementioned issues of balance, visual weight, scale, proportion, dimensionality and the dynamics of line – as well as a clear sense of what we were after aesthetically. Working in natural stone on such a large scale can’t be said to be a precise or even predictable process, but it is anything but random.
Variations in color of the stone, for example, came into play as a guiding principle throughout the selection/placement process. For this project, we used material that was multi-colored with creams, greens, grays and blacks. Keeping that palette in balance as we worked was a subtext for all we did in selecting and placing stones based on their sizes and shapes.
Ultimately, this all folds back to the issue of supervision. I’ve seen projects where a field supervisor walks onto a job site, spends an hour or so consulting with the masons and then takes off, leaving it to the craftspeople to make key design decisions. That’s not fair to anyone, as the masons and other laborers have their hands and minds full enough with simply doing the work correctly. I respect what they do, but to leave aesthetic decisions about stone selection and placement up to them is to compromise the integrity of the project at exactly the worst time.
In supervising the work, you need to watch, think, consider, re-consider and in the end stand back and ask yourself, “Does it really look good?” If it doesn’t, you have to have the strength of will to back up and try something different – something that simply isn’t possible once the stones are set and mortared into place. If it does look good, however, it’s time to pick up and move the project forward to a new stage, as we’ll see next time.
David Tisherman is the principal in two design/construction firms: David Tisherman’s Visuals of Manhattan Beach, Calif., and Liquid Design of Cherry Hill, N.J. He can be reached at tisherman@verizon.net. He is also an instructor for Artistic Resources & Training (ART); for information on ART’s classes, visit www.theartofwater.com.


