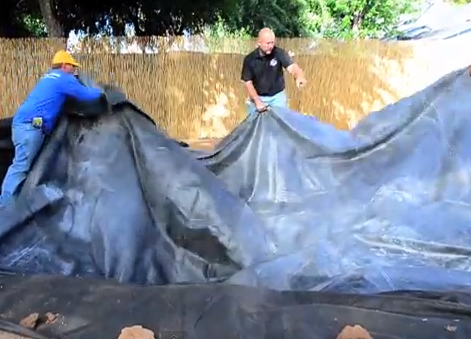
All Lined Up

With the excavation of the main pond area complete – that is, with all shelves cut and compacted and niches prepared for caves and hiding places – it’s time to insert the underlayment and place the liner.
The underlayment is something of an unsung hero in pondcrafting: It keeps sharp stones from gouging the liner as it’s being set in the hole and, longer term, deflects roots that might try to penetrate the liner to get easy access to a huge source of water. Our goal is to prevent any such problems, so we
use the underlayment generously.
Where the underlayment is applied somewhat casually, often with multiple pieces and substantial overlaps, we work harder with the liner itself to spread it out carefully and work with folds and creases to create a relatively smooth, easy surface. We rely on the fact that the material is tough, but we don’t want to compromise it from the get-go by overstretching it or creating pinch points.
Two key points can stand some emphasis: First, liners of any size can be heavy and awkward. Even with the relatively small pond we’re working on in these videos, three of us lugged the bolt of EPDM liner into place. (We might have gotten by with two, but three made the process a breeze.) Second, you don’t want to come up short. I say in the video that I want six inches of overhang, but my preference is to avoid cutting it that close. So allow me to clarify by saying you want at least six inches of overhang: It’ll make your life much easier in later steps.
To watch us work with the underlayment and liner, click here. And do stick around to the end to see everything made ready for the next step!
Eric Triplett is founder and chief executive officer at The Pond Digger Waterscape Design & Construction in Yucaipa, Calif. He may be reached at eric@the ponddigger.com.


