Building Walls, Stone by Stone

It usually catches people off guard when I say so, but when it comes to building dry-stacked stone walls, the installer’s awareness of local climate and soil conditions is paramount to a project’s success.
It’s about more than materials, in other words, or more than basic construction technique: If you err in evaluating specific conditions where you’re working, sooner or later the wall will fail; if you get it right, the wall will be around until someone decides it needs to be taken down.
Where I work in the Northeast, for instance, I know that dealing with winter’s chill is critical and that the ground will freeze down to 42 inches. In those conditions, any water left behind a wall can move it through hydrostatic pressure as well as frost heave – which is why it’s all too common locally to see retaining walls leaning out past vertical.
In other parts of the country, neither freezing nor frost heave are issues, but nobody is truly off the hook by virtue of geography. The clay soils found across the Sunbelt, for example, can wreak incredible havoc on walls, and just about any construction site will be subject to settlement issues that follow large-scale grading and installing walls atop inadequately compacted fill.
In any of these contexts, preparing the site for adequate, efficient drainage is the key. But I won’t lengthen this installment overmuch by getting into the details of setting up drainage systems. Instead, I want to move on base preparation and, finally, to stone installation.
INTEGRITY BELOW GRADE
With any substantial retaining wall or stone fence, base preparation in accordance with specific soil conditions is crucial to preventing settlement or movement. Much of our work, for instance, is done with new construction, which forces us to be well aware of the fact that extensive cuts and fills are a way of life in the home-building industry.
Before we start building, we need to know where these disturbances of the soil took place and how extensive they were. Countless times I have seen sites where a landscape contractor has thoughtlessly installed a wall or patio or deck on top of as much as 15 feet of fill and then acted shocked when it settled. There’s no excuse for that in my book.
Personally, my preference is to wait through a winter before I build on any new construction site, knowing a good freeze/thaw cycle will settle the subsoil very nicely as the season progresses.
But if the site has been filled with anything more than, say, a foot of soil and the client wants the project done now, an alternative way to settle the soil is with lots of water. In fact, if there’s any doubt about adequate compaction, we will set up soaker hoses on the areas where we’ll be working and will direct the homeowner to run them for one hour per day over two or three weeks. This approach has never failed us.
However it happens, once you’re sure that the subsoil is fully compacted, you can begin to prepare the base for construction.
SOUND FOOTINGS
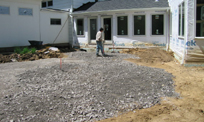
No matter whether it’s a wall or fence, we dig bases that are twice the width of the wall and will vary the depth from six inches to as much as two feet, depending on the soil.
With well-compacted, gravelly soils, for example, we feel confident in digging to the minimum depth, as the soil will drain well and lock in tightly. By contrast, with sandy or clay soils, we’ll dig deeper and line the trench with landscape fabric. Clay soil can be particularly difficult: It expands when wet, so if you build on dry clay, the wall will move no matter how solidly it’s composed above ground level.
I dig down into the soil despite the fact that many books, including the Dry Stone Conservancy’s Building & Repairing Dry Stone Fences and Retaining Walls, show schematics with a wall’s base stones set directly on excavated ground. While that may be sufficient in a non-frost climate, I don’t trust our local conditions to be so benign.

WALL CONSTRUCTION ABCs
In building with stone, we keep three things in mind: battering, through-stones and what is referred to as “1 over 2, 2 over 1.”
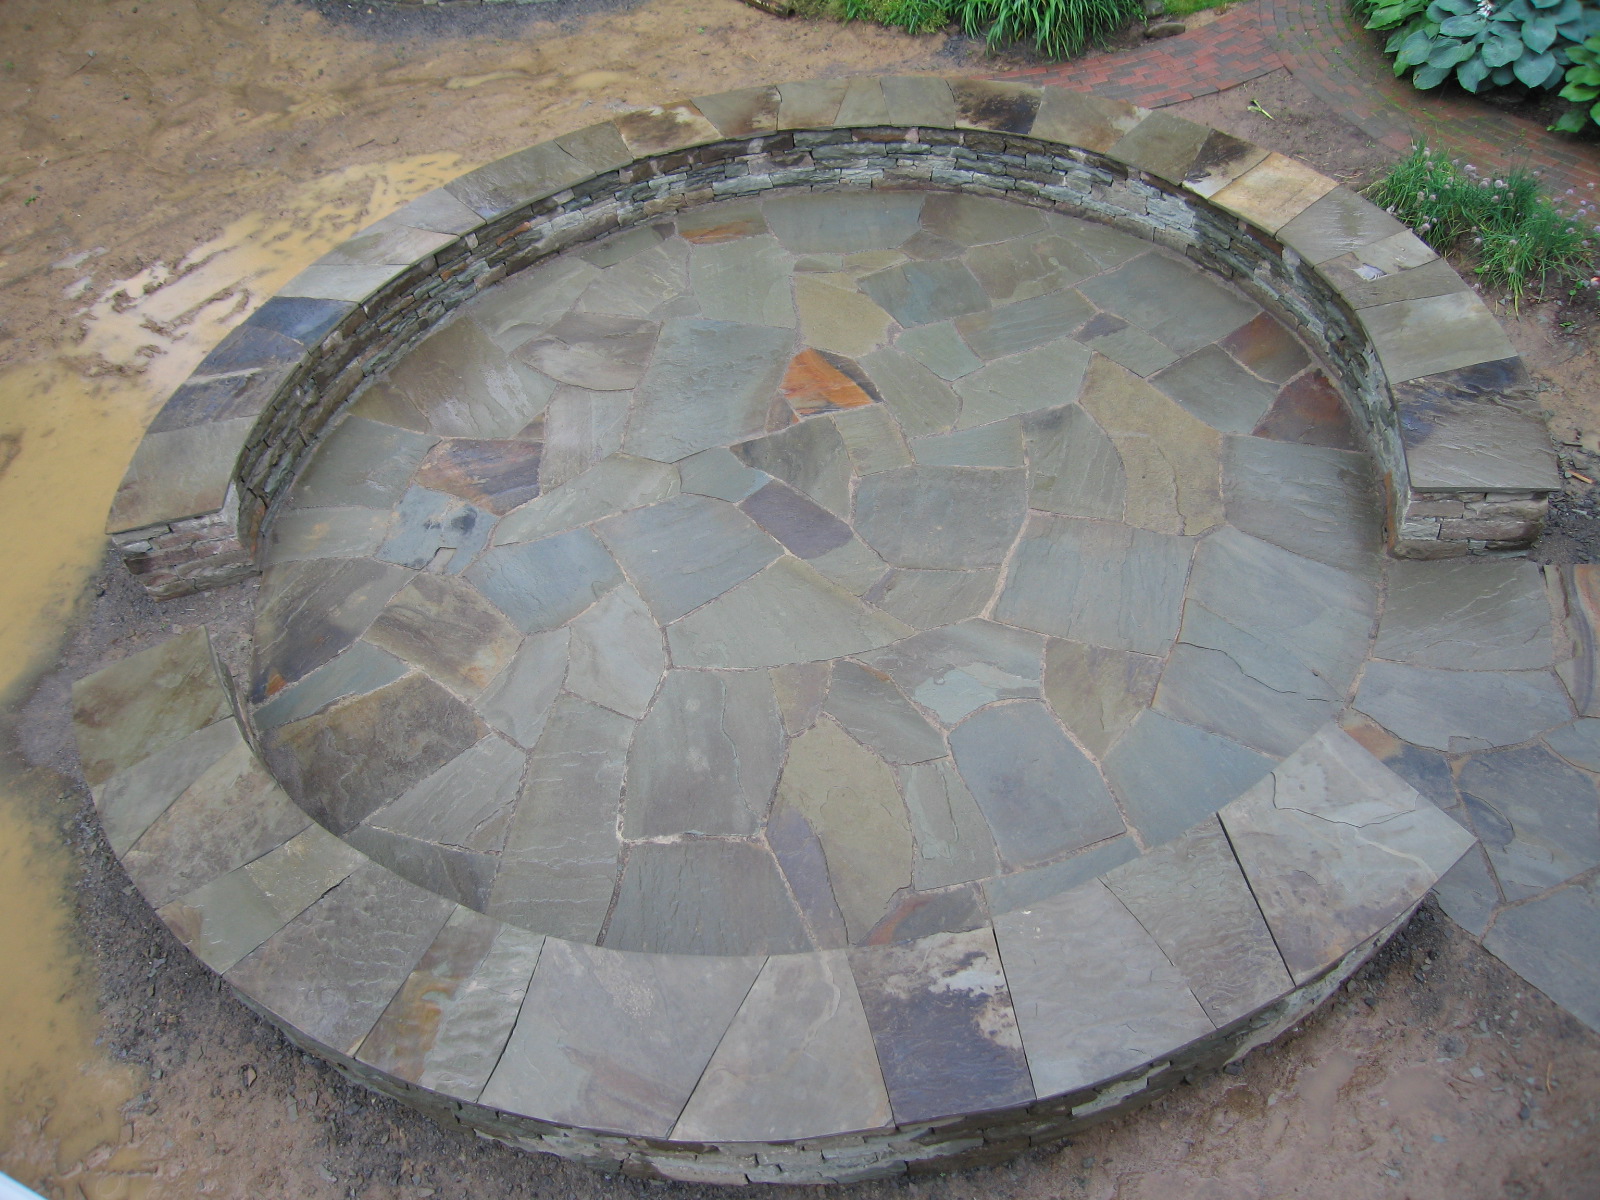
[ ] Battering is the principle of stepping the surface back slightly as you go higher. You do so for several reasons: First, by battering the two sides of a fence back, you shift the center of gravity more towards the center; thus, if any movement occurs, the stone will tend to gravitate towards the center line rather than outwards. (A battered retaining wall is also significantly stronger than a true-vertical one).
Second, a battered fence uses less stone than a vertical one because the structure tapers toward the top. Third, the top of a battered fence will not be as wide as the base, allowing you to use smaller capstones. (As anyone who builds these types of walls and fences knows, those large, flat stones are hard to come by.)
Note: The process of battering a straight run of wall can be made much simpler by using batter boards – that is, simple wooden frames built to the size of a cross-section of the stone fence. One is placed on each end of the run, then strings are attached to provide straight guidelines for the masons.
[ ] Through-stones are large pieces that extend through the wall from front to back. A stone fence is essentially two wall faces built back-to-back – and sadly, many inexperienced contractors actually build them that way, with nothing tying the two faces together. Without through-stones, the sides will eventually fall away from each other and the wall will fail.
Through-stones prevent failures by linking the two sides – and the more of them you use, the stronger the fence will be. Not only should these pieces run all the way from one face to the other, but they should also overlap with other through-stones as often as possible. This creates a friction bond that considerably strengthens the fence.

[ ] “1 over 2, 2 over 1” is all about overlapping joints as much as possible. Dry-stacked walls rely on gravity and friction to stay up, so one stone sitting on top of two will apply gravity and friction to both of those stones and create stronger interfaces than would be the case if long vertical seams began to appear. Building step-wise in an overlapping pattern effectively ties the whole wall into itself.
THOUGHTFUL PROCESSES
These days, our clients are after two things: They want our work to be beautiful, and they want it at a reasonable cost. We won’t build cheap and we tell them so, but we also make them aware that we are sensitive to their budgets and will do what it takes to create works of art for a bit less than the gross national product of a small country.
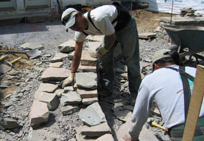
It’s a simple compromise between art and productivity. We buy stone that already has at least a good flat bottom and even a clean face, so all we need to do is dress the front of the stone with a hammer (to make it look hand-cut) and set it in place. This results in less waste and lower labor and material costs – and everyone’s happy.
Next: Topping the wall or fence with suitable capstones.
.
Bruce Zaretsky is president of Zaretsky and Associates, a landscape design/construction/consultation company in Rochester, N.Y. You can reach him at [email protected].


