Hard Choices

If I were to ask the average watershaper to name the most versatile element in any landscape, he or she would probably reply by talking about water or plants or some other equally prominent component. If you asked me the same question, however, I’d almost always say rocks.
Some of you might be thinking I have a few too many of them rolling around loose in my head, but there’s a good explanation for my response. First, rocks come in an infinite number of forms, shapes, compositions, colors, textures and sizes. Second, they can be used to sit on, walk on, retain hillsides or create small mounds. Third, they add dimension to designs and contribute in countless other ways to the overall aesthetics and beauty of a watershape setting.
And let’s face it, whether you notice them or not, they’re part of just about every landscape you see in one form or another.
BREAK IT DOWN
If I thought about it for a bit, I’m sure I could think of a way in which rocks have been used in every landscape I’ve ever designed. After all, they work in every style from ultra-contemporary to completely natural cottage gardens, and they do so in many different ways:
[ ] As a background: One of my clients had a concrete-block wall that was a serious detriment to his landscaping. It would have been possible in time to mask the wall with vines and larger shrubs, but we decided instead to reface the wall with stone.
| Where such a large expanse of brick would be monotonous, the addition of rocks here adds texture, depth and contrast to the setting. |
In this case, we had no intention of making the stone a focal point, but rather used it as a backdrop to set off the plants we planned to place in front of it. As a result, choosing the right stone with respect to color, texture and subtlety of appearance was critical. (In this case, the soft colors of Bouquet Canyon stone worked perfectly.)
This transformation from block to stone works on any stable masonry wall, low or high. And unless the goal is for the plants and wall to blend or for the wall to be the focal point, I’d suggest selecting the stone after the planting design is complete: That way – and depending on the overall look you and your clients are trying to achieve – your choice can be used to maximize the visual impact of the plants.
[ ] To add dimension: Unless you’ve planned grade changes or have used mounding in your design – or you’re lucky enough to be working with natural grade changes and slopes – many landscapes will tend to look quite flat. Placing a boulder in an expanse of lawn, as part of a border or within a planting area can “lift up” the design and lend it more interest, depth and dimension.
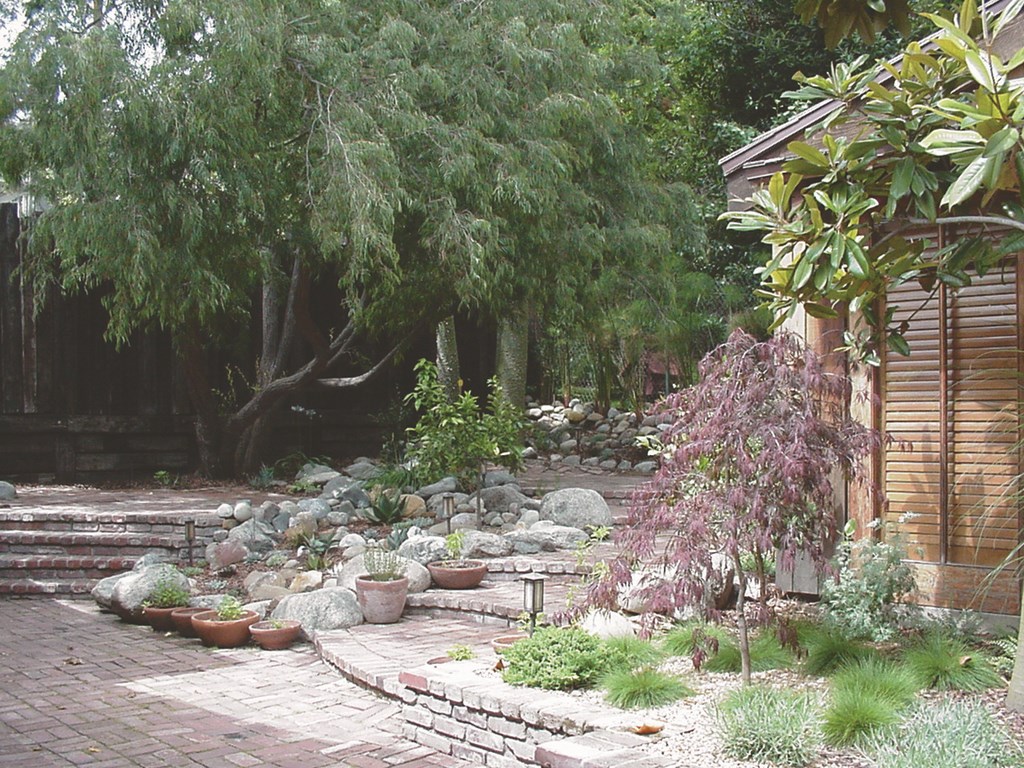
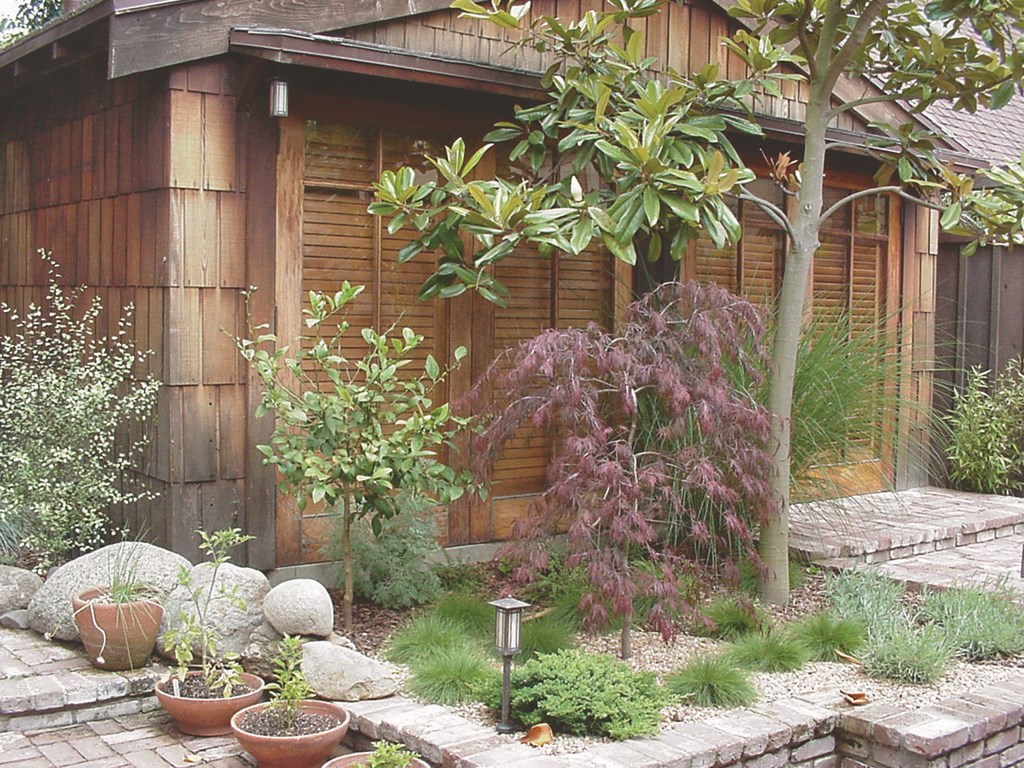
| The rocks seen here soften the visual border between the landscape and the structure, while their round forms contrast with the linear forms all around them. |
I like to create groupings of boulders, using specimens of varying sizes (but complementary tones). And when I place them in a lawn or on the edge of a planting bed, I do all I can to set up the stone in such a way that visitors can sit on it – a great way to draw people out into the landscape. (For more on placing boulders, see the sidebar below.)
[ ] To add texture: Rocks offer endless possibilities when it comes to texture – and similarly endless options when it comes to achieving the looks we want.
The natural textures range from the amazingly rough (lava rocks) to the reassuringly smooth (river rocks), with just about everything in between. Rock suppliers have also developed ingenious ways to alter textures and polish stones to varying levels of smoothness, which makes it possible for us to obtain rock of almost every variety in a wide range of textures and finished appearances.
|
Boulder Positions Incorporating boulders into landscapes is an art unto itself: Just as the way a boulder is placed within a stream, pond or waterfall influences the sound of the falling water, the way a boulder is placed within a landscape determines whether it looks natural or artificial. I am by no means an expert in this field, but I have assimilated great advice through the years from artists who are quite knowledgeable about boulder placement: * First, they say, boulders need to be buried to create a natural appearance. In nature, most boulders are buried to at least half of their overall volume. When plopped on the surface of a lawn or planting area, they look unnatural and unfinished. * Second, every boulder has a “face.” This is an instinctive kind of thing, but when you examine a boulder, you don’t need too much experience to find a side of it that has greater visual appeal (or more “character”) than any other. The point is, some thought and effort at this stage can make a big difference. * Third, the experts have taught me that, as with plants, boulders tend to look more natural in groups of uneven numbers (3, 5, 7 and so on) and in asymmetrical arrangements. * Fourth, placing plants directly behind the boulders helps them to stand out: The boulders become a focal point, while the plants provide the backdrop. — S.R. |
I like to vary the textures in my landscape according to function and design need, using, for example, semi-smooth stones for stepping pads (for added safety), very smooth stones for contemporary landscapes and rough ones in more natural designs. The idea, always, is to avoid random choices or placements and to use the stones deliberately to create visual interest and add to the overall appeal of the design.
[ ] To retain soil: Whether you’re working with a small mound of soil or a large slope, boulders and smaller rocks can be used to establish and maintain either subtle or significant grade changes.
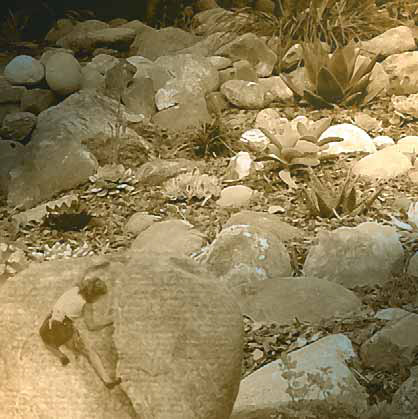
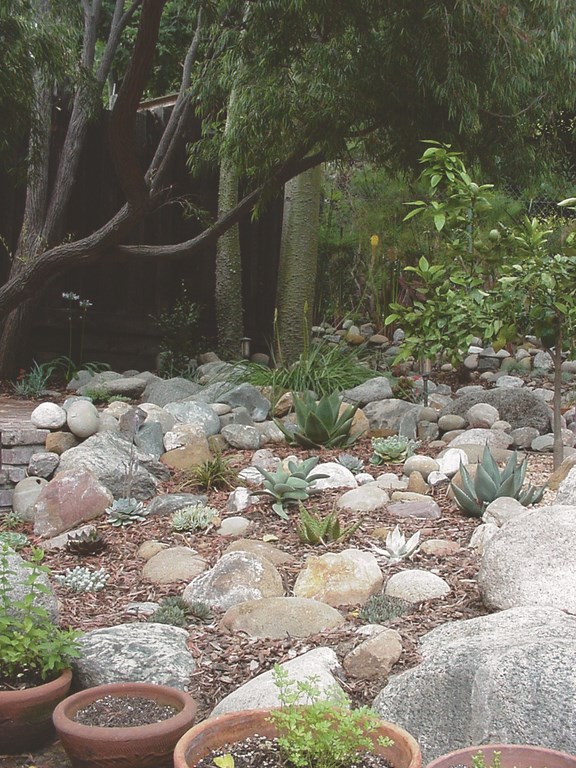
Rocks used in this way can also play subtler roles. Recently, for example, I designed a garden from which we removed a hot tub that had been sunk into a space between two patios – one about two feet higher than the other. I had the contractor fill in the hole with soil and then placed 8- to 12-inch cobbles throughout the space to create level areas while conjuring the appearance of a dry river bed.
Without the stones, the soil between the decks would eventually have washed away because we were using succulents rather than slope-retaining plants. In this case, the rocks supported the grade change and allowed us to use plants that otherwise might not have survived the sloping conditions.
| These rocks appear to have been strewn along the course of some sort of waterway – an effect achieved by burying at least half of each rock in the landscape. |
[ ] To hide eyesores: There is no easier way to hide a metal pipe, a sprinkler valve or some other unsightly mechanical element in any landscape than with an appropriately placed boulder. And they work better than plants, because, once placed, the stone will never shrink or die off.
I have even used (forgive me) “fake” rocks to hide electrical conduits and transformers left in the middle of patios from previous installations. These faux stones can be purchased through many catalogs and really can look like the real thing. (I’m often surprised by how well they fool people.)
There are many other uses for rocks beyond the few I’ve covered here, but the functions listed above represent some of the most common uses and suggest many other ways to go with respect to incorporating them into designs.
Next time: more detail on the way rocks can be used to fit particular styles – and suggestions on plants that work particularly well with rocks in various situations.
Stephanie Rose wrote her Natural Companions column for WaterShapes for eight years and also served as editor of LandShapes magazine. She may be reached at [email protected].


