


On the Ground

Every time I open a landscape trade magazine, I’m bombarded by ads from just about every paver manufacturer on the planet. From the newest faux-stone concrete pavers and ADA-compliant bricks to granite, flagstone, mica and other slab species, we have more choices than ever before for our projects.
Some professionals approach this wealth of possibilities and play it safe – not caring so much about what’s the latest and greatest but focusing instead on what’s most familiar and time-tested and being interested in little more than providing clients with surfaces that can safely be walked on.
Fortunately, however, there are lots of us who take a different view, putting care and thought into the materials we select for our walkways, patios and terraces and working closely with our clients to make certain the resulting surfaces meet their needs. In other words, there’s much more to what we do as designers than enabling people to move from point A to point B without tripping, slipping or catching a heel.
We take risks in being more creative, of course, and it goes without saying that we need to get things right the first time, especially on commercial and institutional projects where missteps can easily result in injuries and lawsuits. To minimize chances of anything going wrong, we always focus a lot of our attention on base preparation – the subject of this column.
MAKING THE GRADE
I’m one of those pain-in-the-neck people who is constantly evaluating a site’s engineering. When called in for something else entirely, for example, I’ve been known to tell a hotel’s facility manager that a retaining wall is about to fail; that the irrigation system is spraying all over the road and that a fountain is losing excessive amounts of water.
And as I walk up to the door, I’m the guy who looks down at the paving and notice how smooth it is, how the cuts were done and how it all comes together in the small details. I will say to whoever’s in earshot (usually my long-suffering wife and business partner Sharon), “Look at those ugly cuts!” or “I can’t believe they left it this way!” or “Look out! Don’t trip!”
Encountering these poor performances with things that can be seen always makes me suspect that similarly slapdash methods were at work in what is unseen. No matter whether it’s unevenness akin to riding a roller coaster or large gaps between pavers or poor or missing cuts, it’s apparent to me that work has been done with little or no thought being given to long-term performance.
When I see installations of this nature, I feel compelled to apologize to whoever owns or manages the site. Honestly, I’ve actually said, “On behalf of the entire construction industry, I apologize for this shoddy work.”
I do so because this work is an embarrassment – and we all should know better, despite the fact that it is obvious some people just don’t care. Whether it’s poor training, poor attitude or some sort of get-it-done-and-move-on mentality, it’s all unacceptable.
My point here is that doing these things the right way is not terribly difficult. Yes, it takes a bit longer than doing it the wrong way does, but as I see it, I spend a lot less time on site doing it right just once than the other company that does it wrong and then has to come back and repeat the exercise to get it right.
In all of this, the single most important aspect of paving installation is base preparation. This is the surest way to achieve a final surface that is as smooth as possible with no dips, rolls or toe-catchers. And it doesn’t matter what paving units you use: Bricks, concrete pavers or slabs all require the same basic sub-base preparation, although the materials that will suffer most from installation of a sub-standard base are the smaller units – that is, bricks and pavers.
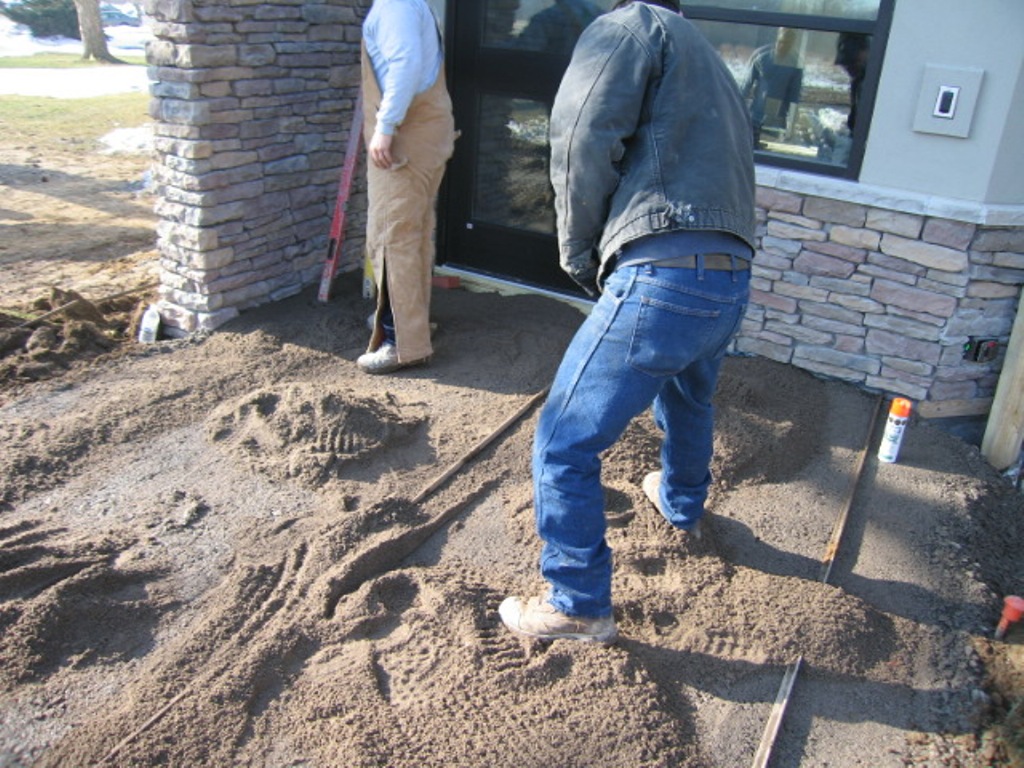
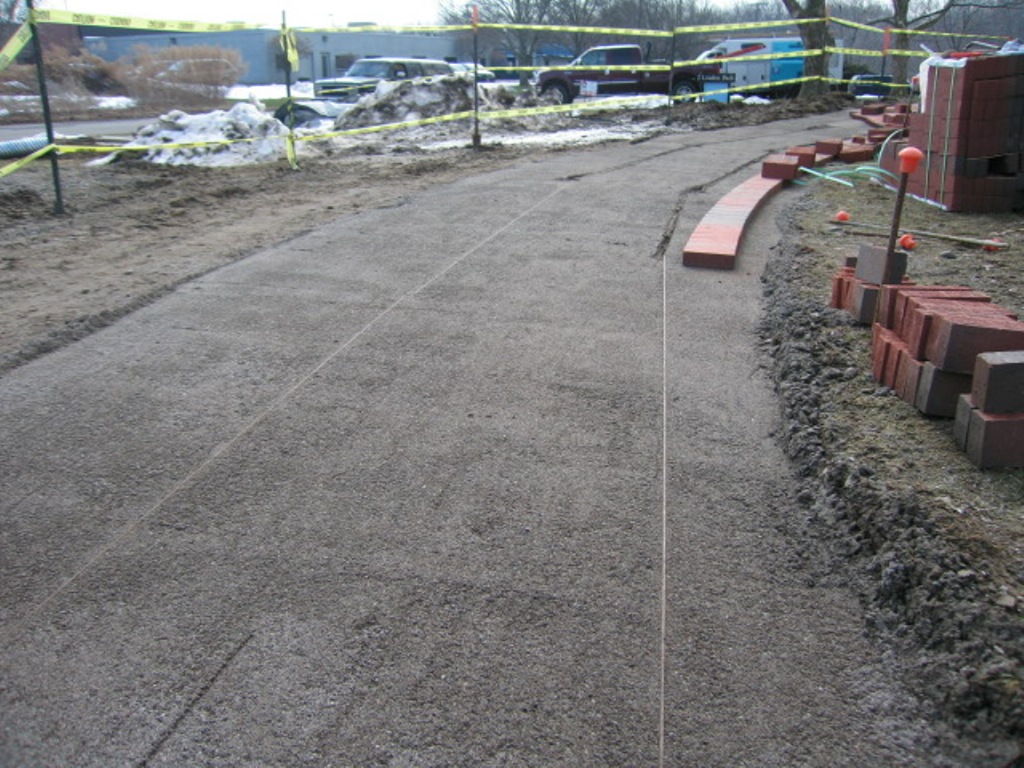
| Once we’ve screeded and compacted the base stone, we place screed bars on top and then cover them in concrete sand. This surface will be compacted by flooding it with water and then it will be screeded again before brick placement. Once that step is completed, we remove the bars and fill the trenches. |
At my company, we have strict, detailed procedures we follow throughout the paver-installation process, but we take particular care in base preparation. For purposes of this discussion, we’ll stick with formed units such as bricks and pavers and avoid slab materials, basically because individual pieces come in a variety of thicknesses and base preparation gets a bit more complicated.
With manufactured materials, by contrast, the thicknesses are uniform, typically in the two-to-three-inch range. The obvious advantage here is that once the sub-base is prepared and the bedding course has been set and screeded, setting the actual paving units is simple.
SENSIBLE STEPS
There’s an important caution here: While screeding a bedding course made up of sand is fairly routine, the smoothness of this bedding layer will never make up for a poorly prepared sub-base.
So let’s start from the beginning: Where I work, the typical excavation for a brick, paver or stone walkway or terrace reaches down about eight inches below grade. Ultimately, however, the final depth of any excavation is determined by two factors, namely, the quality of the soil and its degree of compaction. If we encounter recent fill, for example, we will either remove and replace it or will mechanically compact it to meet the American Society of Testing & Materials’ (ASTM) standard of 95 percent.
Ultimately, we’ll excavate a minimum of six inches wider than the final paving dimensions in all directions: This helps prevent the paver edges from sloughing off down the line.
Let’s assume for purposes of this discussion that we’re working in stable, undisturbed soil and that we need do no more than remove the required eight-or-so inches. If that’s the case, our next step involves installing the sub-base stone. In our area, we call this material crusher run, which is a mix of stone dust and stone crushed to one- or two-inch pieces.
(Note: If we observe before stone insertion that the subsoil is wet or even just a bit soupy, we will install a layer of landscape fabric atop the soil and beneath the crusher run. The fabric stabilizes the area and, under wet conditions, can spell all the difference between project success and failure.)
When added and compacted, the crusher run sets up like a dry concrete – extremely stable and able to shed excess water while allowing some percolation into the soil.
We fill the excavated area with four to five inches of this material in at least two stages. First, we insert three to four inches of material and then compact it as thoroughly as possible using a walk-behind plate tamper. (We don’t try to do it all as one round, because most common plate tampers are only effective with three or four inches of material.)
Once the first layer (or lift) is in place and has been compacted to the 95-percent level mandated by ASTM, we add more crusher run and compact it as well. And if we need to go deeper than usual with the crusher run, we work in a series of three-inch lifts, taking great care because we know that correct installation of this stone base is critical to the long-term viability of the installation.
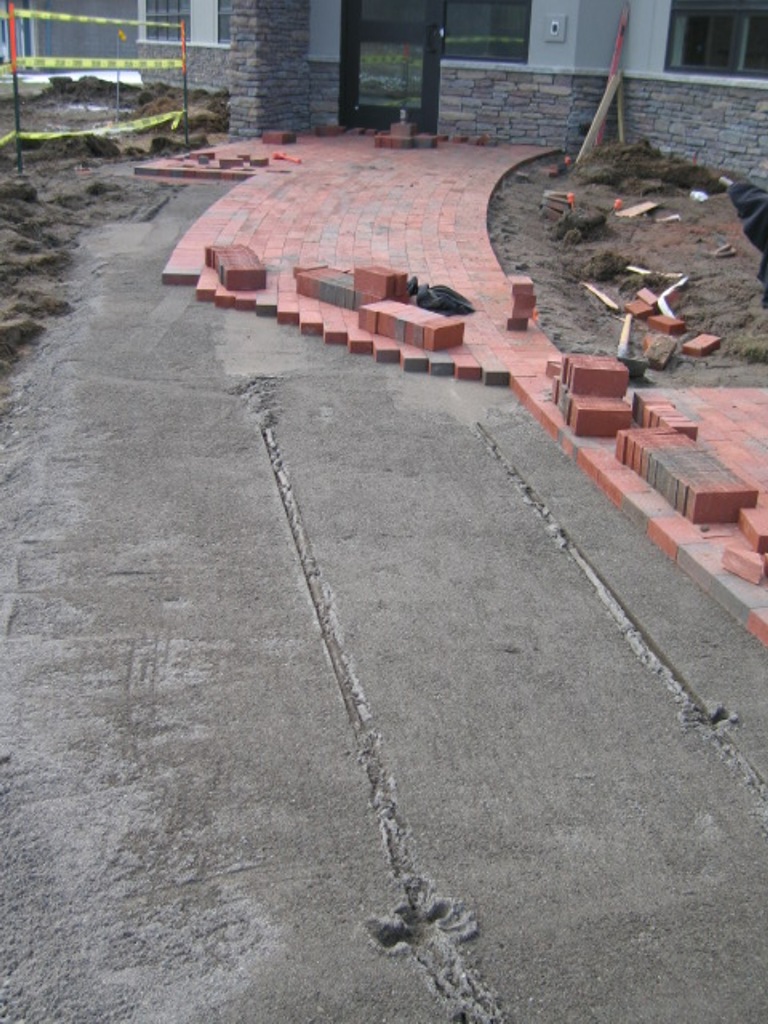
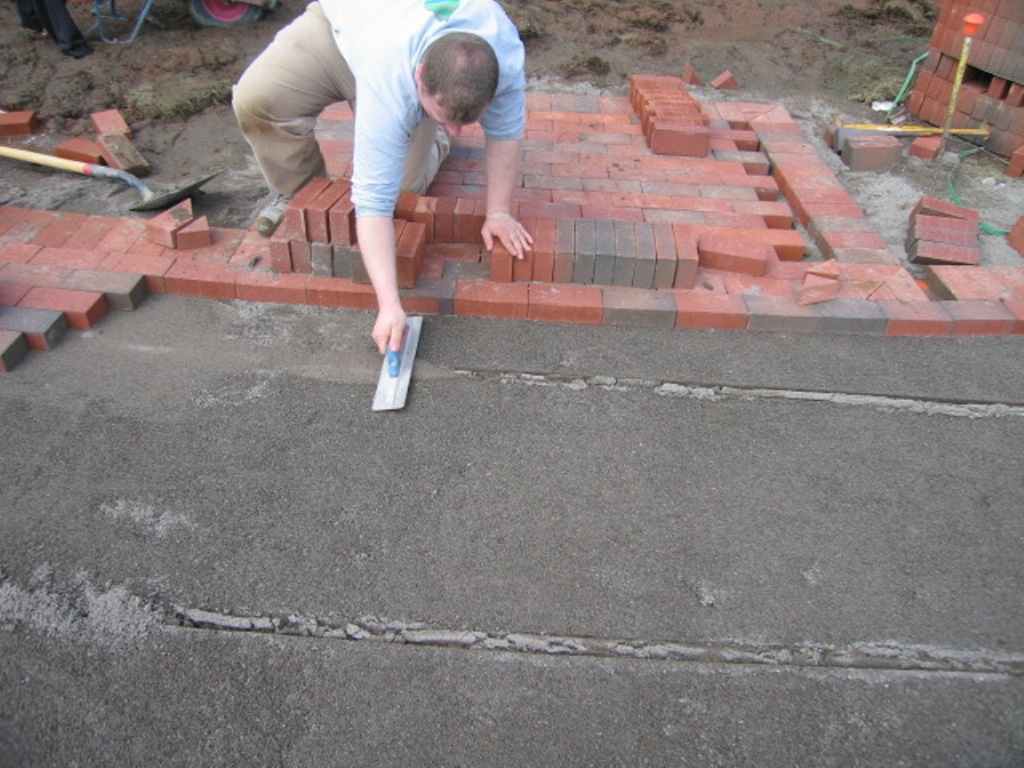
| With the base properly prepared, installing the bricks is a straightforward process of moving down the path, filling and compacting the screed-bar trenches as we go. |
As tamping moves along, we level the crusher as best we can, our goal being to come to within one inch of what will be the crusher run’s final height. At this point, we place angle irons that reach about a half-inch above the crusher run’s final height before screeding the surface and tamping it again. These pieces will serve as a guide in applying the bedding sand.
Our aim in all of this is to create an absolutely smooth surface with a variation of no more than an eighth-inch at any point when we’ve completed our tamping. That’s the tolerance we need to ensure a quality finish, with the sand-bedding course leveling things out and enabling us to achieve a perfectly even surface.
GOOD FOUNDATIONS
We know in pursuing this program that no matter how great the finished surface looks like upon completion, the paving level will always take on the shape of the sub-base over time. Where the sand of the bedding course can temporarily compensate for imperfections below, it is essentially a “liquid” layer that will eventually flow to match the contours of the sub-base – and ultimately will take the pavers with it.
This is why we strive so hard to achieve zero fluctuations in the final sub-base surface – plus the fact that a smooth sub-base speeds the process of laying and screeding the sand-bedding (using the angle irons as a guide) and ultimately makes for easier installation of the paving units.
As suggested above, the procedures we follow with slab materials of varying thicknesses are different: The precision of the sub-base leveling is less critical and the sand layer can be used to help bridge any minor variances resulting either from the sub-base level or the stone thickness. But the emphasis here is on the word minor: We always strive for no more than an eighth-inch tolerance here because we don’t want the slabs to settle and create toe-catchers.
As is true of all built structures, the foundation on which they sit determines their longevity. I’m constantly explaining that fact to our clients: When they ask why we go so much further with our installation procedures than to other companies that have bid on the job, I simply ask them to imagine living in a house without a foundation: It might look good for the first few days, weeks or months, but eventually its walls will sag, its floors will collapse and its roof will cave in.
The same holds true of our much more modest installations. As I tell them: No matter whether it’s a pool shell, a retaining wall, a fence or a paved surface, we simply do our best at all times, giving our work the best possible shot at a long and useful life.
Bruce Zaretsky is president of Zaretsky and Associates, a landscape design/construction/consultation company in Rochester, N.Y. Nationally recognized for creative and inspiring residential landscapes, he also works with healthcare facilities, nursing homes and local municipalities in conceiving and installing healing and meditation gardens. You can reach him at bruce@zaretskyassociates.com.