


Fine Points: Equipment Pad Plumbing Layout
Equipment sets that look organized and operate efficiently require a little commonsense and lots of planning ahead, says Kevin Cobabe. By keeping a handful of key factors in mind while working methodically, equipment pads can take on their own brand of practical beauty.
By Kevin Cobabe
I always admire well-thought-out equipment pads. It’s visual evidence the installer cared and took their time; and, it’s an indication the system will operate efficiently, be easy to maintain, and future equipment replacement can be done almost effortlessly.
The key is planning ahead. Equipment sets are no place for improvisation.
Thinking things through before you start solvent welding pipes together will help you prevent inefficiencies and complications during installation. Improvising can lead to a messy setup that’s difficult to service.
MULTIPLE CONNECTIONS
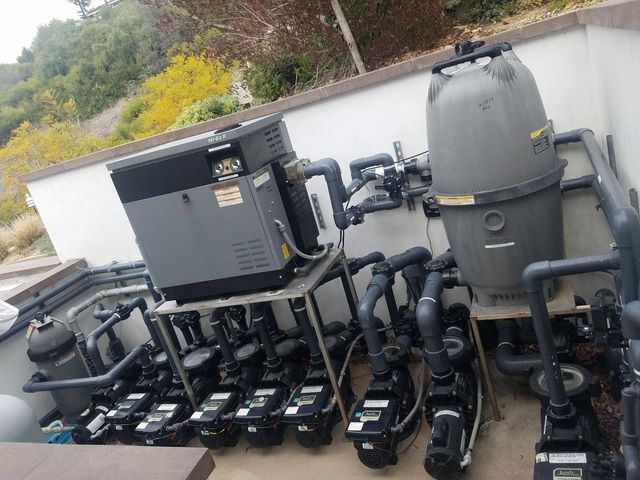
When you’re working with pumps and other components that have one line in and one line out, it’s fairly simple. It gets more complicated, however, when a particular piece of equipment needs to be attached to more than two lines.
Filtration pumps, for example, often have multiple suction lines, which can include spa suction, skimmer suction, main drain suction, and vacuum suction for pools. Each of these lines needs to be valved properly to maintain the total dynamic head without compromising efficiency.
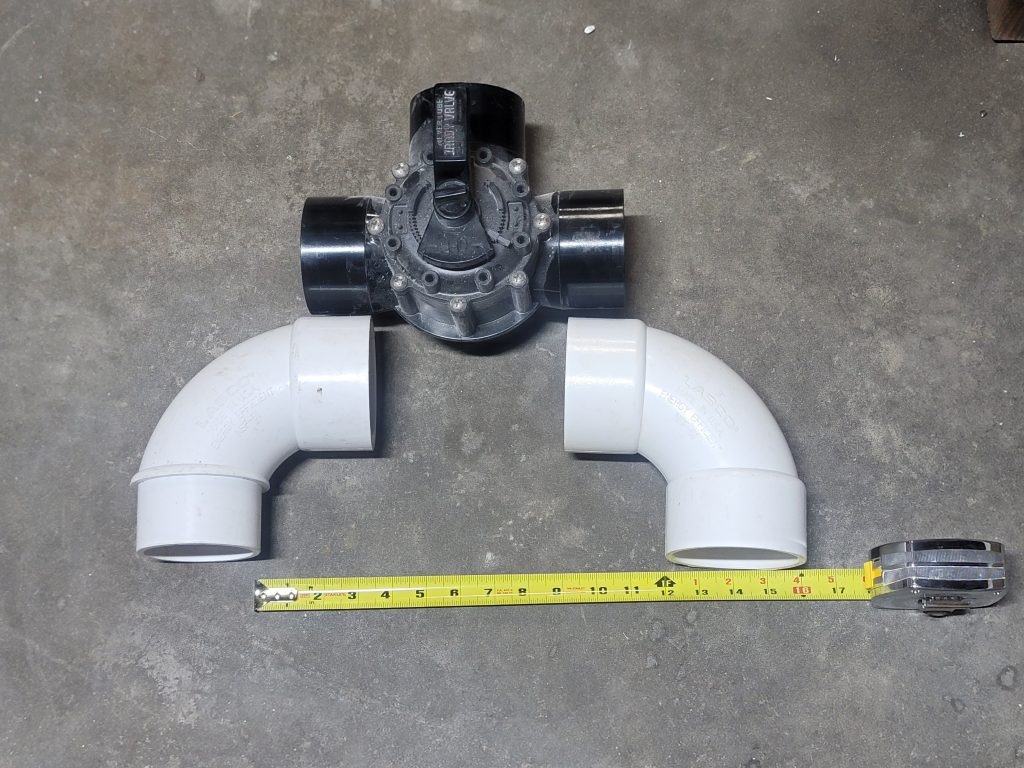
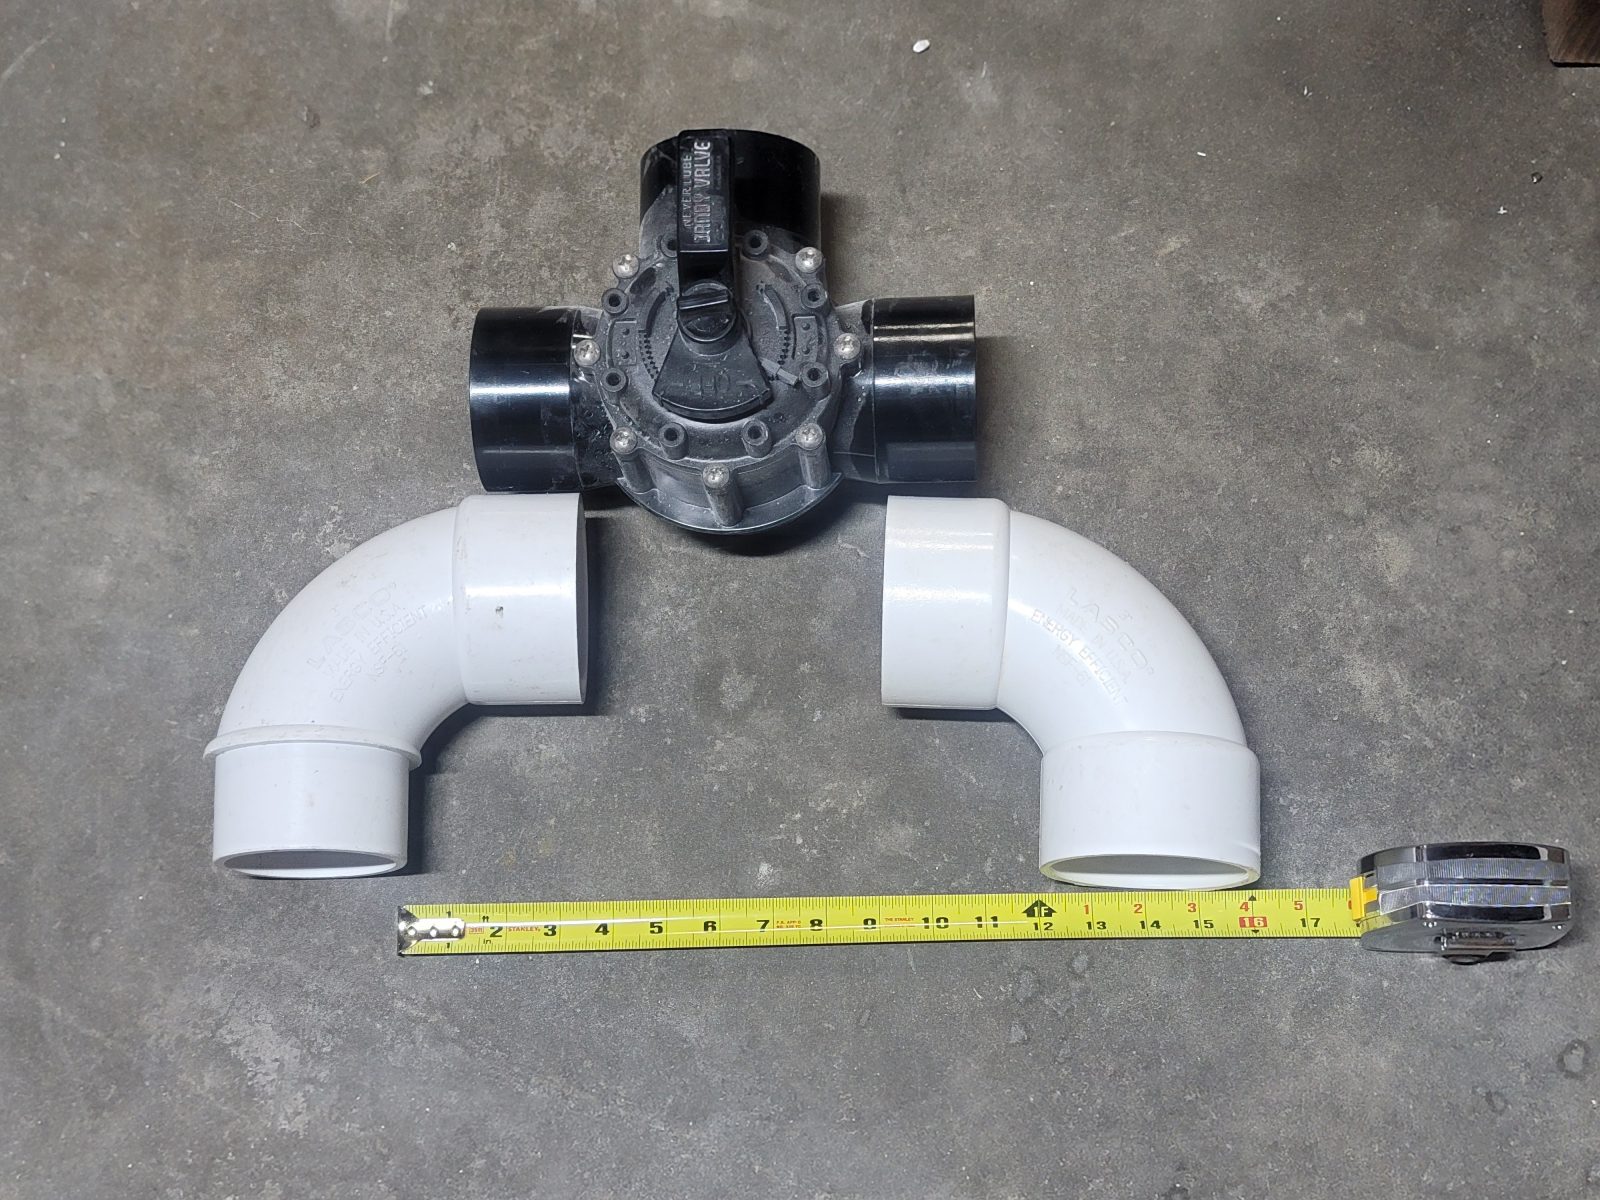
Ensuring adequate space between pipes is crucial, especially when dealing with multiple lines and three-way valves. Incorrect spacing can lead to the need for additional fittings and complications during installation.
I recommend creating a mockup of a valve being fed by two pipes. Place a valve on the ground and then place two 90-degree sweep elbows on either side touching each side of the valve. Then measure the distance between the two elbows’ proposed vertical run. This will be your absolute minimum spacing for three-way valves and of course will vary with the size pipe used.
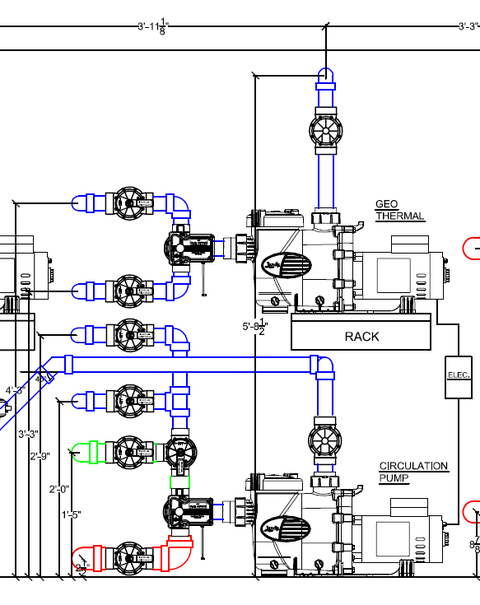
This relates back to our first installment about pipes in trenches. You always arrange your pipes in the trenches so they are closest to where they need to be at the equipment pad. It’s important to avoid crossing over, for that’s when it gets confusing and the layout can become problematic.
THINK IT THROUGH
I’ve seen situations where the contractor doesn’t have any plans for equipment, so they just bring up all the plumbing in a big bundle in the equipment area, and then they just branch off like a star. They’re using the ‘I’ll figure it out when I get to it’ approach.
That’s when you start to make mistakes. For example, I’ve seen people make the mistake of raising the three-way valve up so they can double 45s, making the pipes further apart. The problem is, by raising your three-way valve above the suction inlet of the pump (when equipment is not flooded and at deck level), you create a high loop, which can potentially get airlocked.
This can mean your pump may have myriad problems such as: difficulty priming, possibly never getting a full prime, constant cavitation, greater noise and possibly shorter life from over straining
It goes back to my one-pump-one function concept where different appliances and different elements require different flow rates at any given time. Dedicated pumps make things simpler and therefore easier to maintain proper flow rates for their intended purpose.
An equipment set should be designed with flowrates in mind. Different pool appliances require different flowrates for optimal performance. For example, heaters typically operate best at around 55 GPM. Excessive flowrates can lead to inefficient heat to water transfer, increased energy costs, soot build up on the heat exchanger, and ultimately may shorten the life of the most expensive appliance on your equipment pad.
Properly sizing and configuring equipment not only saves energy costs but also extends the lifespan of the equipment. Educating clients about these benefits can help them understand the importance of efficient pool and spa plumbing.
ELECTRICAL LAYOUT
The same kind of forethought should also apply to electrical installations.
When installing equipment pads for swimming pools, adherence to electric code requirements is crucial. Often, a common issue is the haphazard installation of conduits, resulting in a messy appearance and potential signal interference between high and low voltage lines.
To mitigate this, careful planning is essential, with underground electrical work being done before concrete pouring to minimize visible conduits.
Additionally, separating high and low voltage conduits and using separate junction boxes ensures compliance with electrical codes. It’s also important to consider the size of conduits and wires. Plan to overcompensate to allow for flexibility and potential changes in the field. Oversizing conduits and junction boxes is recommended to avoid future troubleshooting difficulties.
While specific rules regarding conduit junction boxes and wire capacity exist in NEC 314.16(C), many professionals tend to over-engineer to accommodate potential variations.
Finally, the installation and connection of wiring should be performed by a licensed electrician to ensure safety and compliance.
Kevin Cobabe is president of Dynamic Pool & Spa Construction, a high-end watershaping firm based in Redondo Beach, Calif. He is also a founding member of the International Watershape Institute (IWI), faculty member for Watershape University and a regular contributor to watershapes.com and the Ask the Masters Facebook group.