


Burying Masterpieces

When I listen to people as they stare at a fountain, I often hear them say, “How wonderful!” In witnessing that praise, however, I know for a fact that what they find appealing is the gracefulness of a sculpture or the beauty of the stone or tile finishes or the way the water flows – what I refer to as the fountain’s “façade.”
In many cases, what’s behind that façade can be pretty mundane: maybe a small pump, some simple plumbing, a cascade head or sconce and little more. In other cases, however, what’s going on behind the surface is what’s truly “wonderful,” and it’s safe to say that many masterpieces are buried in the concrete hidden beneath the flashy surfaces.
This article is about a pair of those buried masterpieces.
SIZING THINGS UP
Some years ago, I was asked to bid on three fountains proposed for the Villagio Inn & Spa in Yountville, Calif. – but that’s not what I will be discussing here. As part of the overall project, they also wanted me to work on two spas that were part of the same complex, one for men, the other for women. After looking at the plans and consulting Brian Van Bower of Aquatic Consultants (Miami, Fla.), who had specified the equipment and prepared the plumbing schematics, I decided to jump in.
I did so knowing that all of my work – twin masterpieces, in my opinion – would ultimately be encased in concrete. And everything had to be right: Once the concrete crew completed its work, there would be no cheap or easy do-overs.
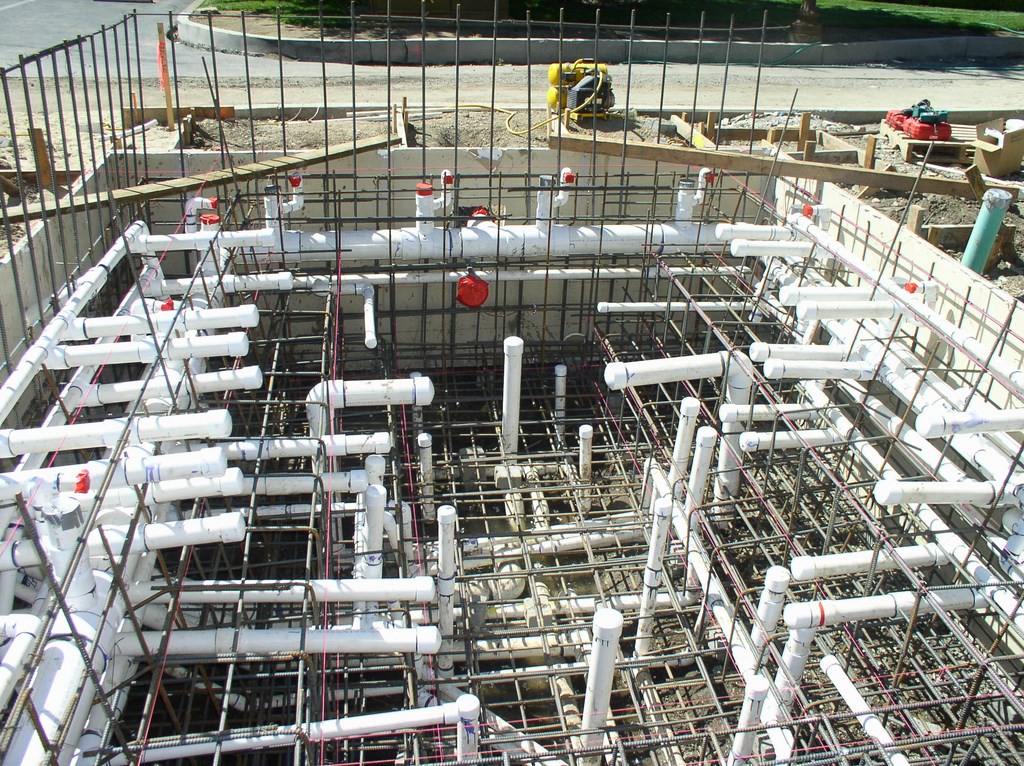
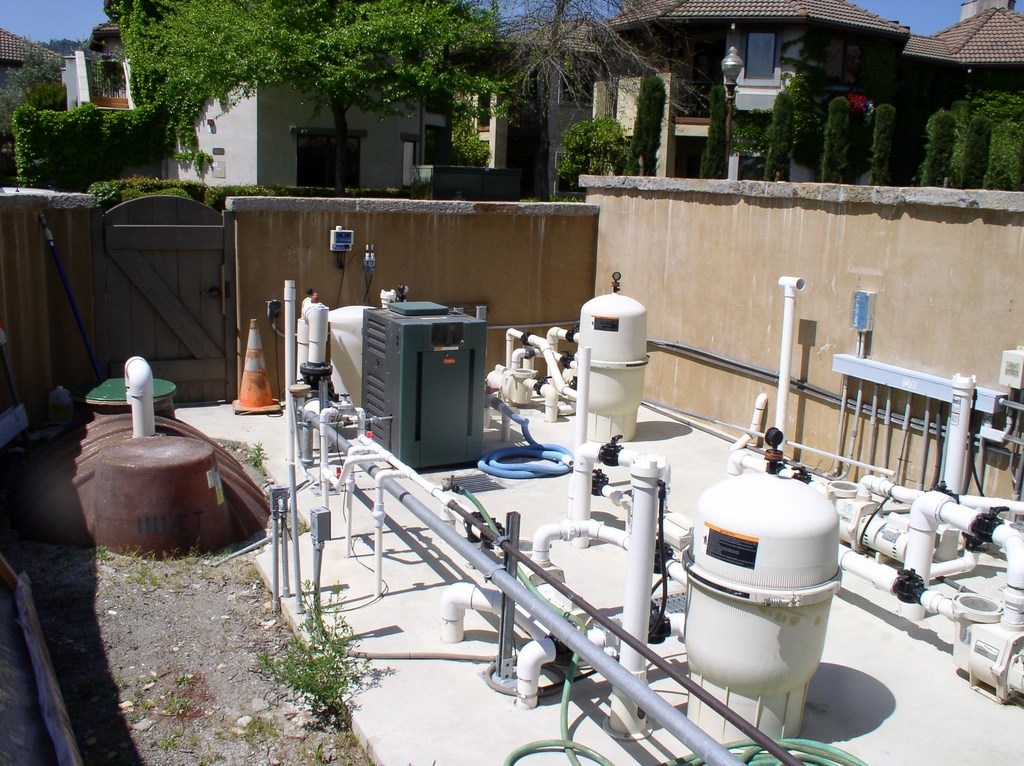
| This is what the rough plumbing for a spa with 28 jets and a perimeter-overflow system looks like once 750-plus glue joints have been completed. (Behind it all, you can see the sheetrock panels we used to keep everything aligned at the correct elevations.) It’s all ready for the gunite crew, but I can’t help thinking it’s a shame to bury so much good work under so much concrete! |
Each spa was to be 16 feet long and 12 feet wide with a maximum depth of three-and-a-half feet. There were perimeter overflows on three sides, and originally there were to be sheet falls that dropped onto the fourth. The plan specified four pumps, a heater and a cartridge filter to feed 28 jet heads and draw on three pairs of main drains in each spa. There was also to be a surge tank to handle the flow over the edges. In getting myself ready to execute the plans, I estimated pretty conservatively that each spa included more than 750 glued fittings on pipes ranging from one to 12 inches in diameter.
The schematics showed how many heads were to be aligned with each pump, but they didn’t indicate which ones. This left it up to me to design the plumbing in such a way that each head received a balanced and adequate flow.
To get it right, I connected each jet body to a six-pipe array:
• water in
• water out (to the next head)
• air in
• air out.
There were also one-inch air pipes carried inside the two-inch pipes to the heads.
Each grouping of heads needed to be plumbed as a loop to ensure equal flow and pressure at each aperture. To make things more interesting, some of the loops had jets in both the wall and floor!
END TO END
Envisioning all of this plumbing and then locating each component at some place in the excavation was a bit overwhelming. Helping me on my way was a trick I learned long ago from some very bright gunite guys.
We started by lining the excavation with four-by-eight-foot pieces of sheet rock mounted on wood frames. On each section of sheet rock, we snapped chalk lines to show the faces and elevations of the various walls and steps. The result was a solid set of reference points I could use first in laying out and then in installing the pipes and fittings.
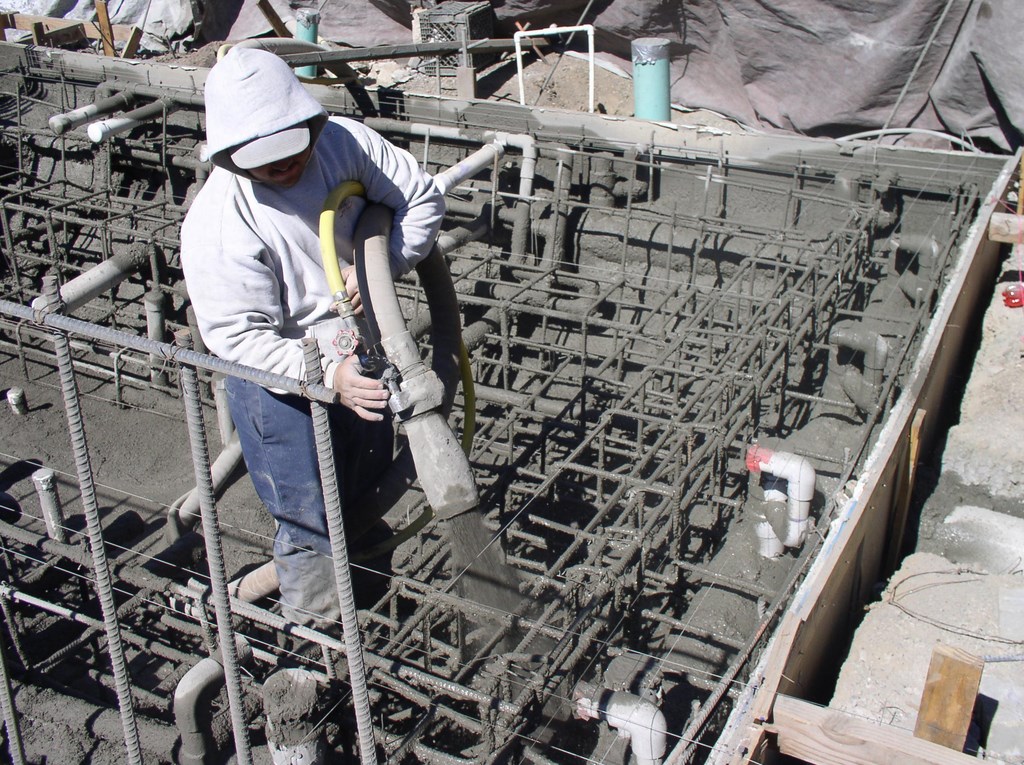
| Gunite is applied under high pressure by professionals whose concerns are different from mine as a plumbing installer – yet another reason I take great care in the gluing and testing processes to make sure everything is tight and secure. |
It was slow going in this case, but I kept at it systematically, starting with the four-inch intakes and then moving up to the jets in the floor and lower walls. I then tackled the massaging jets in the upper walls and, finally, took care of everything associated with the perimeter-overflow system. The latter included a 10-inch PVC trunk line with one-and-a-half-inch snorkels that penetrated the drain trough about every three feet around the perimeters. The 10-inch pipes were teed together to flow into a 12-inch pipe that moved water by gravity to the surge tank.
We completed the 750-step plumbing process and capped all of the open pipes for pressure testing. Happily, there was just one small, easy-to-fix leak.
| Nothing was simple with the piping for this project: Even setting up the surge tanks to accommodate the perimeter-overflow systems involved us in amazingly complex arrays of plumbing runs and connections. |
In the course of paying attention to every detail, however, I had noticed something about the way the rebar crew had started to set up the spas’ steel cages. I had been working off the architect’s drawings and schematics; the rebar crews, as it turned out, had a different set of plans they’d obtained from the structural engineer. The upshot: Once they started to install the rebar, it was apparent that there wasn’t going to be enough clearance between the perimeter drain system and the cage.
To set things right, we ended up cutting about an inch and a half off the ends of the 10-inch pipes in two places to ensure proper clearance. Once that issue was addressed, the gunite crew came in and shot the spas.
ON THE PAD
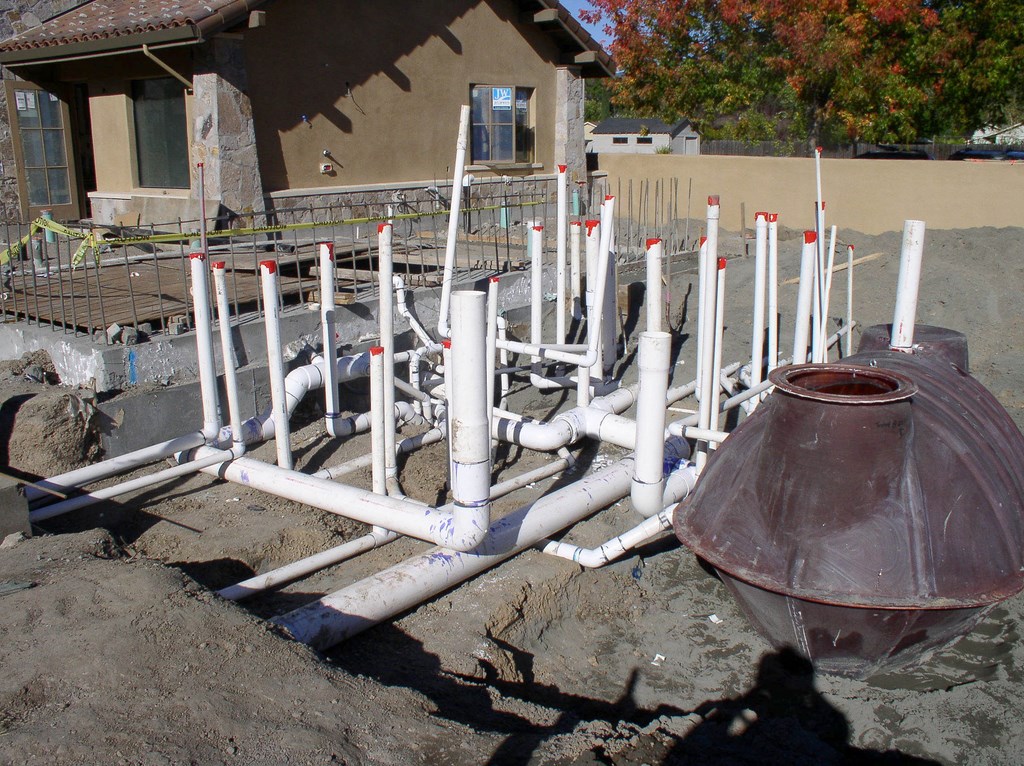
After that, I wanted some smooth sailing. As it turned out, however, laying out the equipment pad offered its own set of challenges. For starters, the prefabricated surge tanks had to be positioned at just the right elevation relative to the level of the water in the spas. As mentioned above, the drainage system was gravity-driven, and we had to get the correct slope to maintain the flow and avoid air traps. Also, there had to be some careful crossing of the four-inch pipes that led into and away from the pumps.
| The equipment pad for the spa systems had to be laid out precisely to accommodate all of the complexities buried in the concrete of the spas themselves. Levels and slopes had to be just right, for example, to make certain the gravity-driven drain system worked to perfection. |
So what happened with the sheet falls on the spas’ fourth sides? Well, the local health department’s inspector came by and said we would not be allowed to install them because the disturbance in the water would make it hard for staff to see anyone who might be in distress under the water’s surface. We pointed out that there were 28 air-injected jets in each spa and that the spillways wouldn’t be adding enough turbulence to make a difference, but we lost the fight.
It’s too bad. The effect would have been a nice addition and, as a fountain specialist, I know how appealing and relaxing the sight and sound of water in motion can be.
With my part of the project essentially complete, I had to wait a while for the masons and tile applicators to work their magic and make the spas as beautiful on their surfaces as I knew they were beneath them.
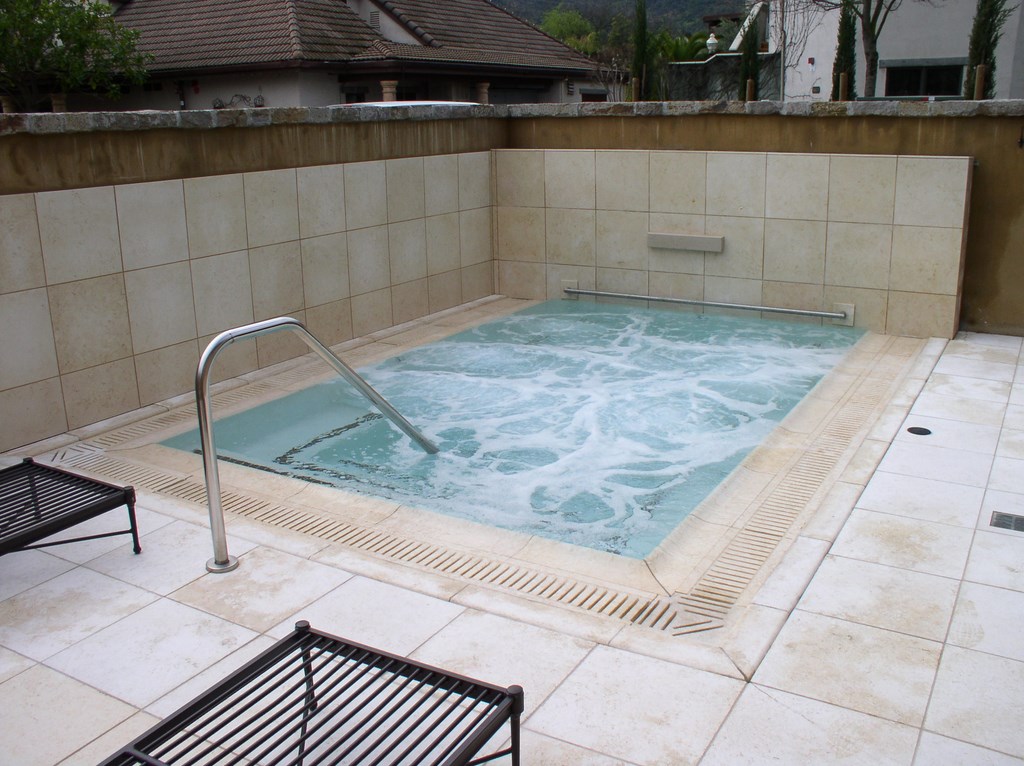
| The spas themselves are definitely things of beauty, but for me, what’s underneath the pretty surface is what matters most. And as a fountain specialist, I definitely wish we could have included the sheeting waterfall that was part of the original design! |
Finally, the big day came and the system was fully initiated for the first time – lots of water but no air! As it turned out, the one-inch air supply tubes to the jets were an eighth of an inch too short, so their O-rings weren’t seating properly. We removed all 28 fittings in each spa, cut the pipes and extended them with couplings that added the right amount of length – and the praise started rolling in along with a robust flow of air bubbles.
We knew at the start that working with intricate systems that are to be encased in concrete allows no room for error. By having a good plan and pursuing balanced hydraulics, we ensured that any problem we encountered would be easy to resolve – and not buried in concrete!
Jim Wilder is founder and owner of Living Water Creations, a Santa Rosa, Calif., design and construction firm focused on custom waterfeatures for both residential and commercial clients. He is also founder and owner of Pond & Fountain Pros, a pond and fountain supply firm also based in Santa Rosa. A 1975 graduate with a degree in geophysics from Sonoma State University (Rohnert Park, Calif.),Wilder began his working life in engineering and geophysics before shifting to watershaping on a full-time basis more than 25 years ago. In his spare time, he is an accomplished three-cushion billiards player.