


Covering Levels


Automatic swimming pool covers are wonderful in a number of ways: They increase safety, save energy, limit evaporative water losses, keep debris out of a pool and can even reduce chemical consumption.
As a watershaper, I want these devices to be trouble-free so they will perform with nothing more than routine maintenance and my clients can use them without hesitation or concern. This is why, with every such installation, I do what it takes to arrange construction details in such a way that cover performance is optimized.
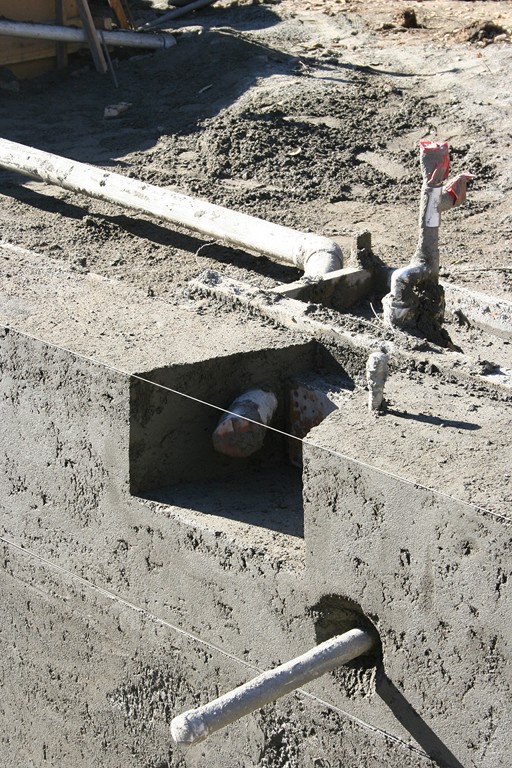
Through the years, however, it’s been my observation that too few watershapers think these things through, particularly when it comes to setting an elevation for the vault’s dam wall relative to the pool’s operational water level.
In almost every one of these offending pools, the vault dam has been set at a point approximately two to three inches below the bottom of the coping. With a skimmer installed in the conventional manner, the pool’s operational water level is also three inches below the underside of the coping. In such situations, with the operational water level at or barely below the elevation of the cover vault’s dam wall, water will inevitably move into the cover box whenever the pool is used.
If someone swims or jumps in or exercises or plays in the water for any length of time, it’s likely that a few hundred gallons of water will be displaced into the cover box. That’s not desirable for any of a number of reasons, and it’s a situation that can and should be avoided.
THINKING IT THROUGH
This spillage over a cover vault’s dam wall is so widely recognized that many builders even rely on drains in the vault to serve as a pool’s overflow system. That’s a terrible idea, because we all know that homeowners are not going to remove leaves from the cover every time it is deployed. Those leaves will eventually be dumped into the vault, where they will settle on the bottom, clog the drains and render those outlets useless as overflow devices.
There’s also the fact that automatic cover mechanisms are not designed for submersion: The brackets and hardware will corrode, ropes will rot, electric motors will short out and the presence of water in the box will place excessive drag on the mechanism when it operates. This is why the vault drains are there in the first place – to protect the cover and its mechanisms, not to serve as overflow lines.
With water being seen as a precious commodity across the globe these days, it’s also irresponsible to waste those hundreds of gallons every time a pool is used. Moreover, real money was spent to buy that water and heat, filter and chemically treat it, so it’s both water and money going straight down the drain.
| The main task in altering the water level in a pool with an automatic cover involves dropping the skimmer throat by an inch or two below typical placement in the bond beam. This effectively lowers the pool’s operating level and lets the cover vault’s dam wall play a real role in keeping water out of the vault. And if there’s a spa within the pool, the larger gap under the cover makes it much easier to keep cool pool water from intruding on the spa’s warm confines. |
To combat all of these issues, I design my pools with additional clearance between the underside of the coping and the operating level of the water. There’s some foresight and planning involved, but all it takes is dropping the elevation of the skimmer relative to the top of the bond beam.
With our covered pools, for instance, we simply recess the tops of our skimmers to a point two inches below the top of their bond beams. This drops the pool’s operating level to a point five inches below the bond beam, so when, as usual, we set the top of the cover vault’s dam two inches below the bond beam, the operating water level is now fully three inches below the dam’s level – at which point it takes a hefty bather’s best cannonball to force water over the vault’s dam and into the box.
We also make a point of protecting the pool cover by installing overflow lines in the pool just below the dam wall’s level. This way, even a heavy dose of rain won’t be able to swamp the cover box and get to the cover mechanisms and components.
ON THE LEVEL
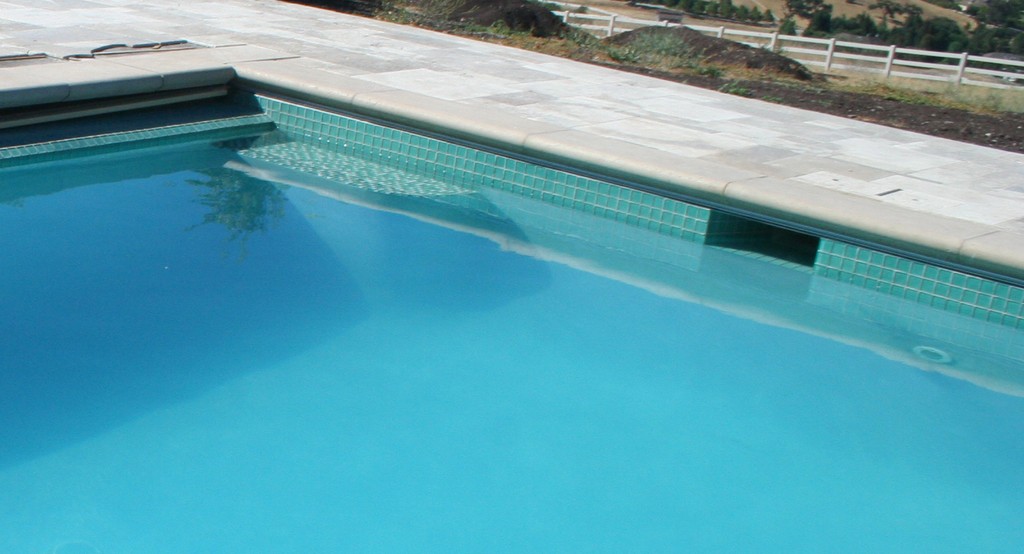
By dropping the skimmers, you effectively drop the operating levels of water within the pool. So if you want to deliver a pool of a particular depth, you have to remember to dig down an extra two inches at the excavation stage. You also need to use larger waterline tile or develop a mosaic approach to accommodate the extra two inches you’re leaving below the coping.
(I always select a tile that will allow me to wrap it around the corner where the side walls meet the cover dam, thus aligning the bottom of the tile on the face of the cover vault’s dam perfectly with the bottom of the waterline tile on the side walls. This eliminates any extra visual attention that may be drawn to the cover box’s opening.)
|
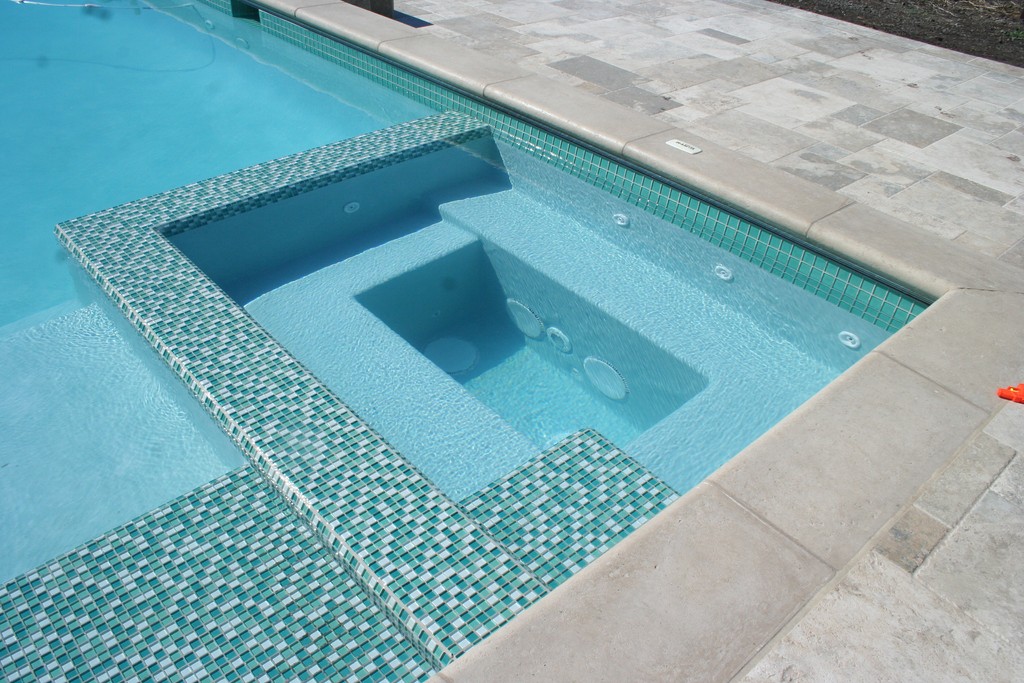
Under Cover Another issue related to setting levels in pools with automatic covers has to do with setting the level for the dam of a spa placed within the pool. All too often, I see these walls set at completely inappropriate elevations, and it’s basically because the conventional approach to setting levels leaves only an inch (at best) to play with between the water’s operating level, the cover vault’s dam wall elevation and the underside of the coping. I cannot tell you how many covered pools I’ve seen with interior spas that have their dam walls set at exactly the same point as the pool’s operating water level – or even below it! This is obviously a construction defect that can and should be avoided, but I still run into builders who will argue that this is the only way to build these pools, and I can only think it’s because they like spending time in court with angry clients. As is mentioned in the accompanying text, all it takes to eliminate this problem is paying attention when you set relative levels in your covered pools. P.B. |
Another benefit of lowering the operating level of the water is that the dam wall of a spa contained within the pool will also gain extra clearance (see the sidebar at right for more) – meaning no more cold-water intrusion on the spa’s warmth.
This also leaves plenty of clearance for the lead bar on the pool cover: Indeed, there’s now enough room that you can have the lead bar tuck away out of sight beneath the cover box tray when the cover is open. And if you invert the guides on the ends of the lead bar, you can even tuck it out of sight under the coping when the cover is closed – a nice bit of visual gamesmanship.
What I like most about this is that it’s simple solution that cuts down a surprising number of problems. Better still, none of this is rocket science – but as mentioned above, it does take some planning as well as focused communication with excavators, plumbers, tile/masonry crews and pool-cover installation crews who might be accustomed to accommodating other builders’ bad habits!
Paolo Benedetti is principal at Aquatic Technology Pool & Spa, a design/build firm based in Morgan Hill, Calif. He may be reached at [email protected].