


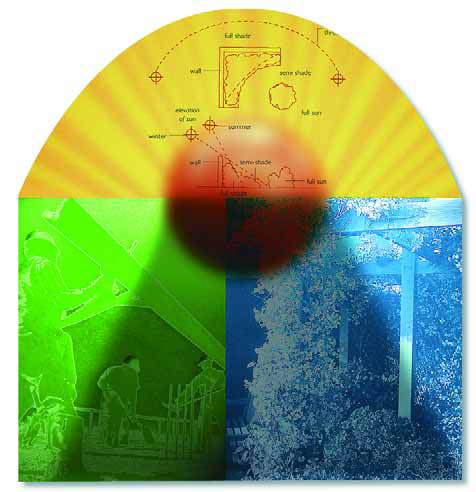
Making the Shade

I truly enjoy including shade structures in my designs. Whether I’m working with an overhang, an arbor, a loggia, a pergola or some other structure (and, yes, they are all different), I see them as ways to create visual extensions of a house – and wonderful places to enjoy being next to the water.
There is, of course, as much art and skill to designing and installing the right shade structure as there is to setting up all of the other features of a great backyard. Done well, a structure that projects out from a house will pull your eye from inside to outside while it provides relief from the sun. Similarly, freestanding shade structures offer refuge from the heat of the day while serving to balance other features in the composition.
If the structure is set up in the wrong place or has the wrong details or uses the wrong materials, it will be an eyesore no matter what it cost. Remember: It’s the whole environment that’s important, not any specific detail.
To show what I mean, let’s take a look at a hillside project in which a large shade structure was designed right along with the pool and is indeed integrated into the pool’s structure – so much so that one of the posts is encased in the pool shell. From this vantage point, the homeowners and their guests will escape the sun while enjoying a perfect perspective on the pool and the project’s many other details.
FROM THE GROUND UP
The available deck area is relatively limited because of the configuration of the lot and the home, but we maximized its functionality by setting up a large seating space with ready access to the barbecue area sunken into the right side of the pool as well as to the thermal ledge that provides easy access to one of the pool’s two shallow ends.
Our biggest challenge in executing the design had to do with the site’s geology. As is true of lots in most of the development, this one was set on cut/fill grading certified to 90% compaction. That sounds fairly stable, but what the certification doesn’t tell you is how substandard the material is that was used to set up these hillside pads.
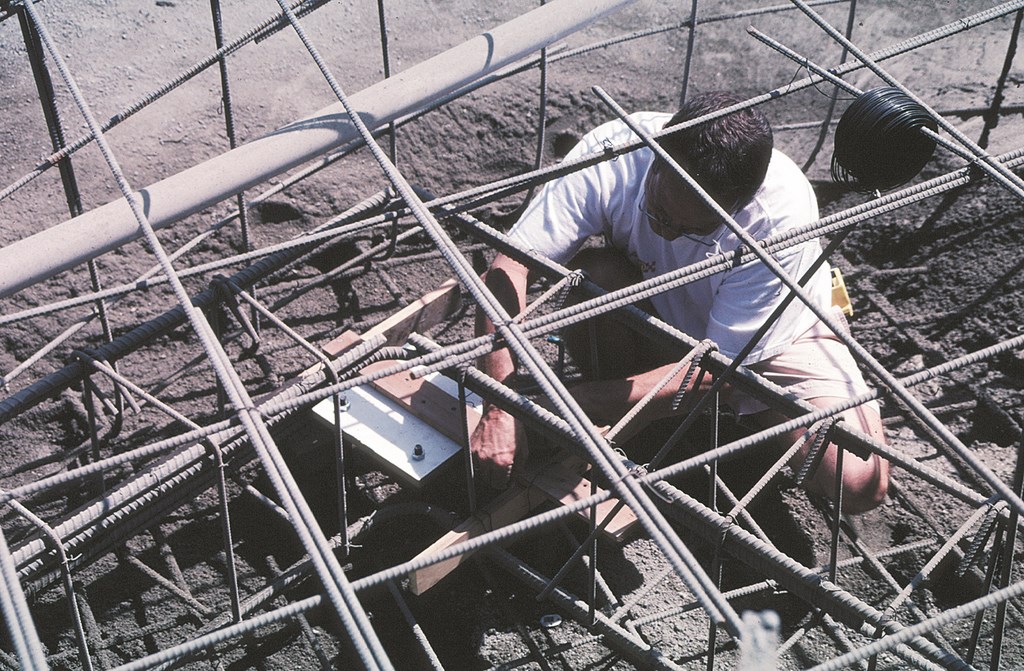
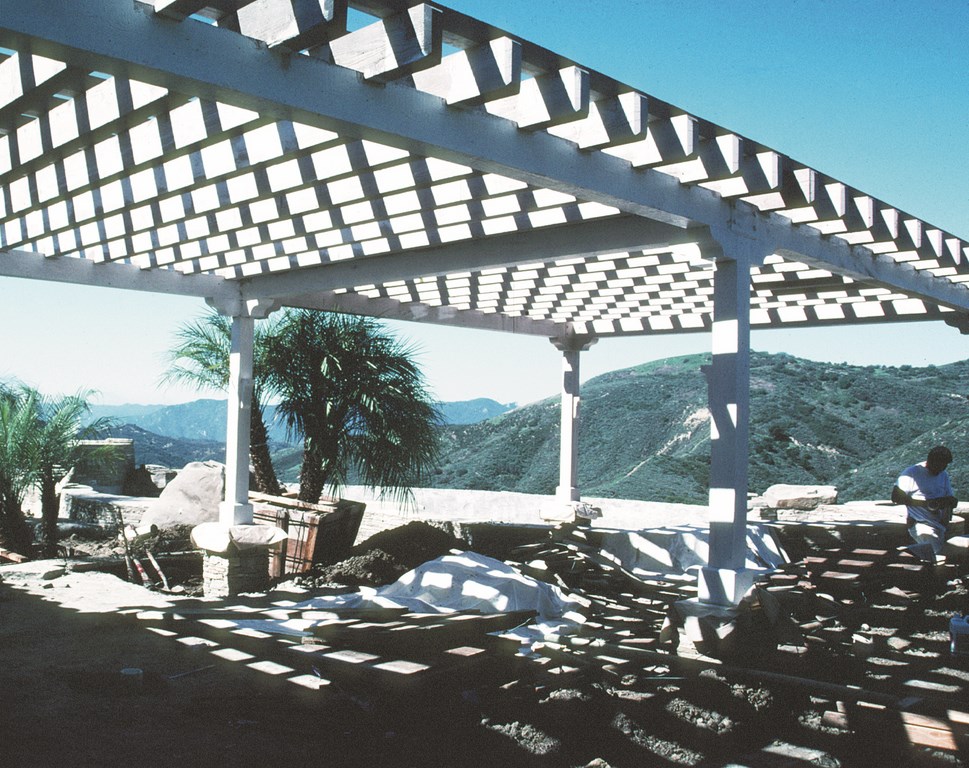
| Incorporating one of the overhang’s six pipe columns into the shell called for a complicated structural-engineering detail – and working in extremely close quarters within what would eventually be the pool’s thermal shelf. |
I’ve done a lot of work in the area, and you don’t need to look very hard to spot cracking of walls and driveways attributable to movement and shifting. In fact, several slope failures have occurred in the immediate vicinity. Working on lots of this sort is a specialty of mine, and I knew that the pool and the overhang would both need to be well engineered and structurally sound from the foundation up.
In approaching this sort of challenge, one trap to avoid is thinking that, because an overhang doesn’t weigh as much as a swimming pool, deck or house, it doesn’t need to receive the same structural attention. If you want the structure to last – and especially when you’re working in adverse soil conditions – you have to look at all structures with the same approach and attitude.
It’s also important, especially if local geology is a concern, to take your design ideas to a structural engineer to get the guidance you need to do the job properly. I will say it over and over again to anyone who will listen: Any person in our business who designs a structure and is not a structural engineer should have his or her head examined!
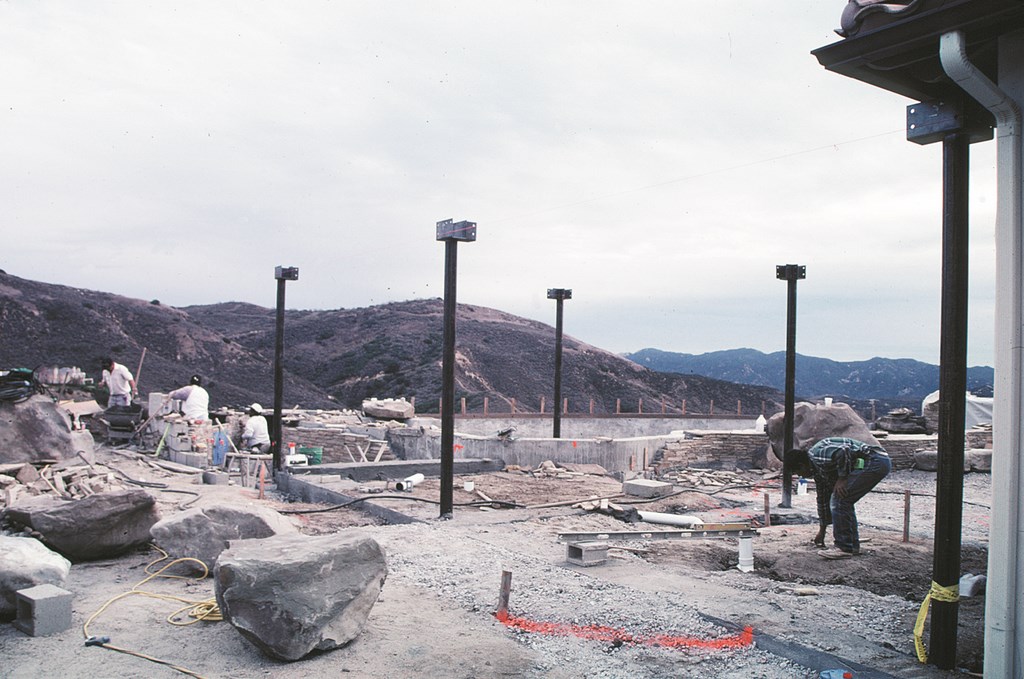
| The overhang and pool shell are tied together through a continuous system of grade beams (seen here between the posts). Each post is tied through the grade beams in two directions to prevent any twisting. |
In this case, we used six four-inch diameter pipe columns integrated into the pool’s foundation through an extension of the pool’s grade beams. This solid base allowed me to create a shade structure that is as stable as the pool itself and relieved me as much as possible of any concerns about differential settlement. In aesthetic terms, it also allowed me to avoid using “knees” on the columns. I hate the way they look, and I could avoid them here because this foundation alleviated any concern about torsional stresses at the tops of the columns.
In all, there are six posts – one incorporated directly into the pool shell, the others outside the pool but tied into the continuous grade beams that support it. In other words, the pool and its overhang are structurally integrated in every way. None of this would have been possible if the overhang had been an afterthought: The fact that we knew what we wanted and where we wanted it to go made it all possible.
ROCK SOLID
The post set in the pool is attached to the foundation according to a detail designed by the structural engineer and is incorporated into the thermal ledge, a shallow area that enables bathers to lounge comfortably in a few inches of water (more on this detail in an upcoming issue). The ledge is supported by solid gunite (not rebound!) that encases the bottom of the metal post in roughly four and a half feet of solid concrete.
Visually, this one post seems to sit on top of the thermal edge, but it actually extends to the pool’s foundation. As for the other posts, they are tied to a system of grade beams that extends past the walls of the pool from beneath the thermal ledge, and each post is tied in two directions to prevent any twisting. Everything is anchored at the same depth in the same type of soil.
On the surface, we had to watch elevations carefully because of planter locations, the sill of the house, the thickness of the stone and, most important, the drainage system.
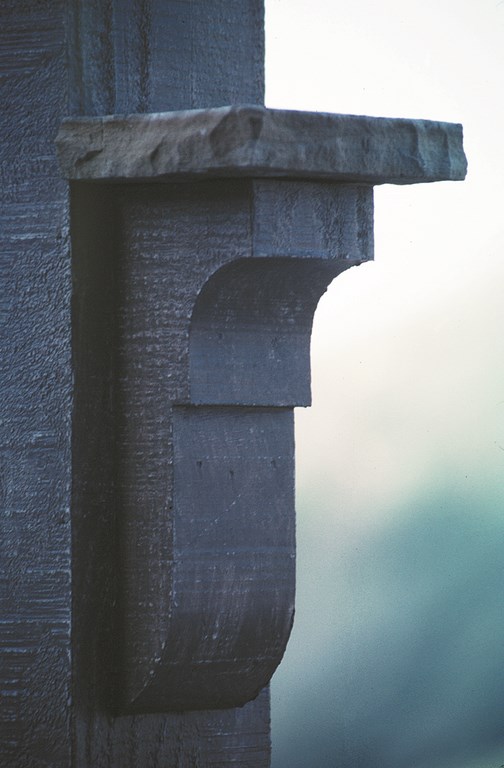
| We carried a stone detail up the posts by placing stone lintels — the same materials as the decking — on small brackets. They will serve the homeowners as mood-setting candlestands. |
The key to the construction process for the overhang was placing the bolts and the posts’ setting pads in just the right spots. To do so, we took a piece of plywood and made holes in it corresponding to the location of the bolts. We used this as a jig to establish exact locations: The wood held the bolts in place as we poured the concrete.
Once the jig was pulled off, we set the plates and posts and tightened everything in place. This all sounds pretty simple, but it’s easier said than done. The point is that nothing will work the way you want unless you work with a system that lets you place the posts in exactly the right spots.
That done, we needed to dress up the metal posts and create vertical transitions from the thermal ledge and the decking up to the overhang itself. We started by wrapping each post in wood for the top ten feet or so and then set up ledger stones at each of the bases to continue with the look of the rest of the pool and deck.
Each post treatment is a bit different: For the one on the thermal ledge, for example, we had to consider the fact that it stands in water. So we cut a conical countersink when the pool was gunited, wrapped the post in a waterproofing membrane and sealed everything with an emulsified waterproofing agent. On top of that, we waterproofed the gunite surface of the thermal ledge with a waterproofing material before covering it with stone.
For the other posts, we built out with the same ledger-stone detail to create stone pilasters. We also set small brackets on all six pilasters and topped each with stone lintels as candlestands – a neat touch that adds a lot to the romance of the setting. The two posts up against the house are integrated with a planter separated from the house by a one-inch gap. When the plants grow up and around the pilasters, the visual integration will be complete and the shade structure truly will appear to be an extension of the home.
Another post is located at the top of the steps leading down into the barbecue area. There’s a boulder set against it, and we accommodated it with another neat ledger detail. In this case, the boulder was set first, and the post and pilaster were built around it to give the illusion that the boulder had been there long before we came along to build the deck and the pool.
OVERHEAD CONSTRUCTION
The driving idea here was to make the overhang seem like a visual corridor that leads you from the home into the pool environment. For that reason, we paid a lot of attention to the wood we placed overhead – not just structurally but also visually and aesthetically.
We used eight-by-ten-inch and six-by-eight-inch beams along with two-by-two-inch cross members that were sealed and finished to match the color of existing details on the house. The process involved sealing, sanding, finishing, sanding again and then refinishing to give the wood a weathered look that fit in with the house. The overall structure is 15 by 31 feet, 12 feet high from the deck to the bottom of the cross beams.
| The overhang and pool are completely integrated in terms of engineering as well as aesthetics. The structure enhances the space and makes it more usable – a great setting for a big party or an intimate dinner for two. |
Here again, details were important: We deliberately left the buttons holding the large beams exposed; we chose the wood and its rough texture with care; we chose the finishes with the entire context of the home in mind; we even paid attention to how the ends of the beams were band-sawed, trimmed and either chamfered or left plain.
The overhang is set up for speakers to be placed in the rafters and for low-voltage lighting. Frankly, I don’t think it’s important to light this particular space electrically: The romance and sensuality of the entire space will be best suited by the aesthetically pleasing softness of candlelight; more than that, I think, will call too much attention to one space over another. I see this as a space where kids will have fun, but I also see it as a paradise for the adults who come to enjoy it.
The shade structure is spacious and connects the inside to the outside while effectively expanding the usefulness of the relatively small deck area. When you combine the design details of this shade structure with the beautiful details in the pool and the barbecue area, you’ve got a space that is aesthetically pleasing, engaging and harmonious – perfect for a big party or an intimate dinner for two.
David Tisherman is the principal in two design/construction firms: David Tisherman’s Visuals of Manhattan Beach, Calif., and Liquid Design of Cherry Hill, N.J. He can be reached at [email protected]. He is also an instructor for Artistic Resources & Training (ART); for information on ART’s classes, visit www.theartofwater.com.